
I found a full package of plain chipboard letters on clearance! So much potential.
For this banner, I traced the letters on festive paper (%50 off the full pad of seasonal papers). Cut them out & glued them on. Pretty simple & self explanatory, right?
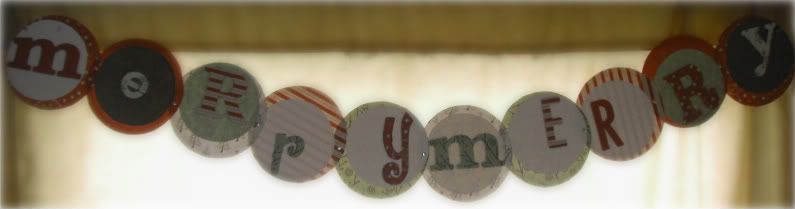
Then I grabbed a mug from the kitchen that had a large enough base to include the various letters & traced circles on plain card stock and two of the coordinating papers. I grabbed a larger jar, traced circles on the other festive papers.
I then glued the letters onto the card stock and blued those circles onto the larger circles. I glued them a bit off center on each one and did the same with the letters.
Now for a little Retro action!
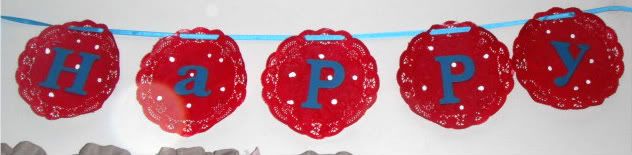

I used the chipboard letters for this banner too...but I painted them. I also used doilies I had, painted red. It was too plain to leave just red with blue letters...they needed some white. Polka dots were the perfect solution. I had the perfect blue ribbon.
Next time...I won't paint the doilies though. LOL A bit too much work....it was easy but felt like 'busy work'. Maybe spray paint would have been easier or quicker? I've seen lots online just plain white that looked very chic'.
My kids helped me paint these too!
No comments:
Post a Comment