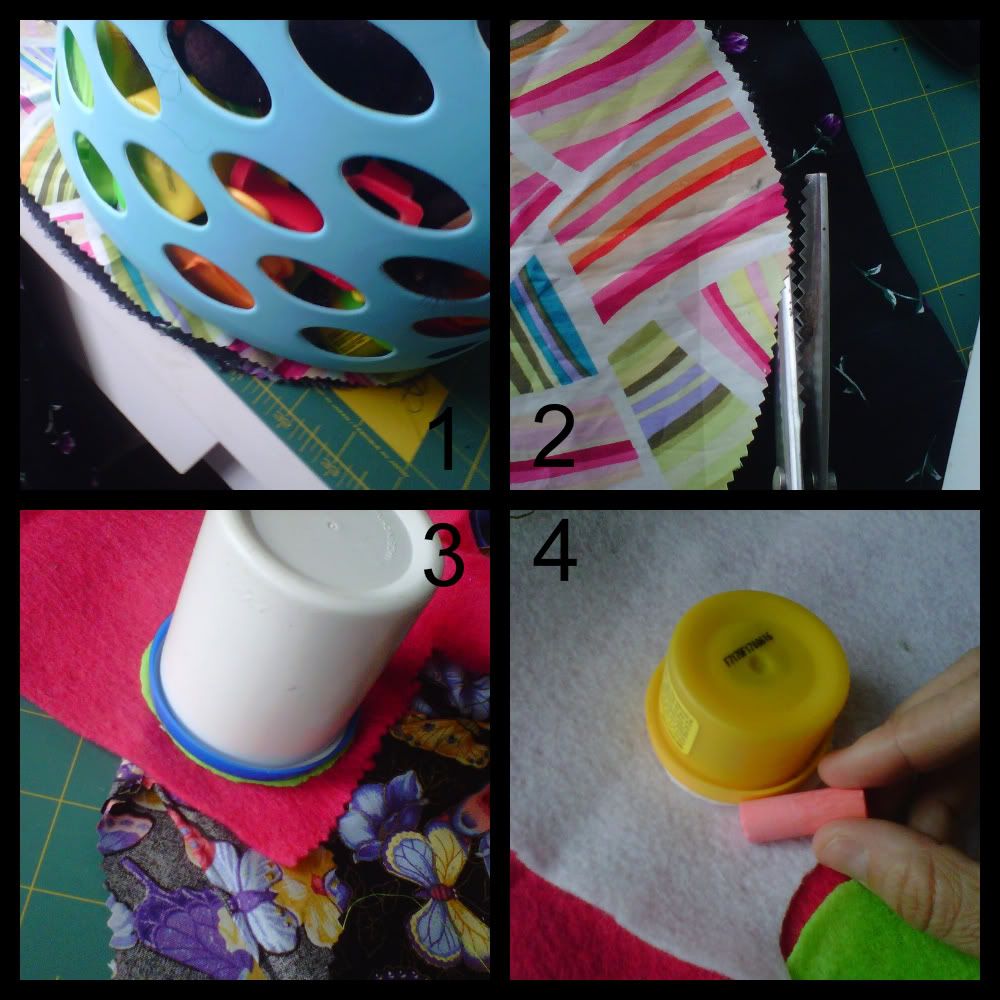
1. Decide how big you want your owl pillow to be. Find a circle shaped object you can trace. You can see I used the bottom of a basket. You can use chalk to trace around your object. Add two peaks, one on each side of the top of your circle to create the owl 'ears'.
2. Cut out your shape. It saves time to cut @ least 2 pieces @ a time. (front & back) You can also layer 4 pieces and have enough for 2 owls in the same amount of time. (I hate cutting so I look for short-cuts all the time!)
3. Again, find a smaller circle shaped household item that you can trace for the outer eye. Cut 2.
4. Find a circle slightly smaller for the white of the eye. Trace & cut 2. Do the same for the black center of the eye, or you can cut those freehand.
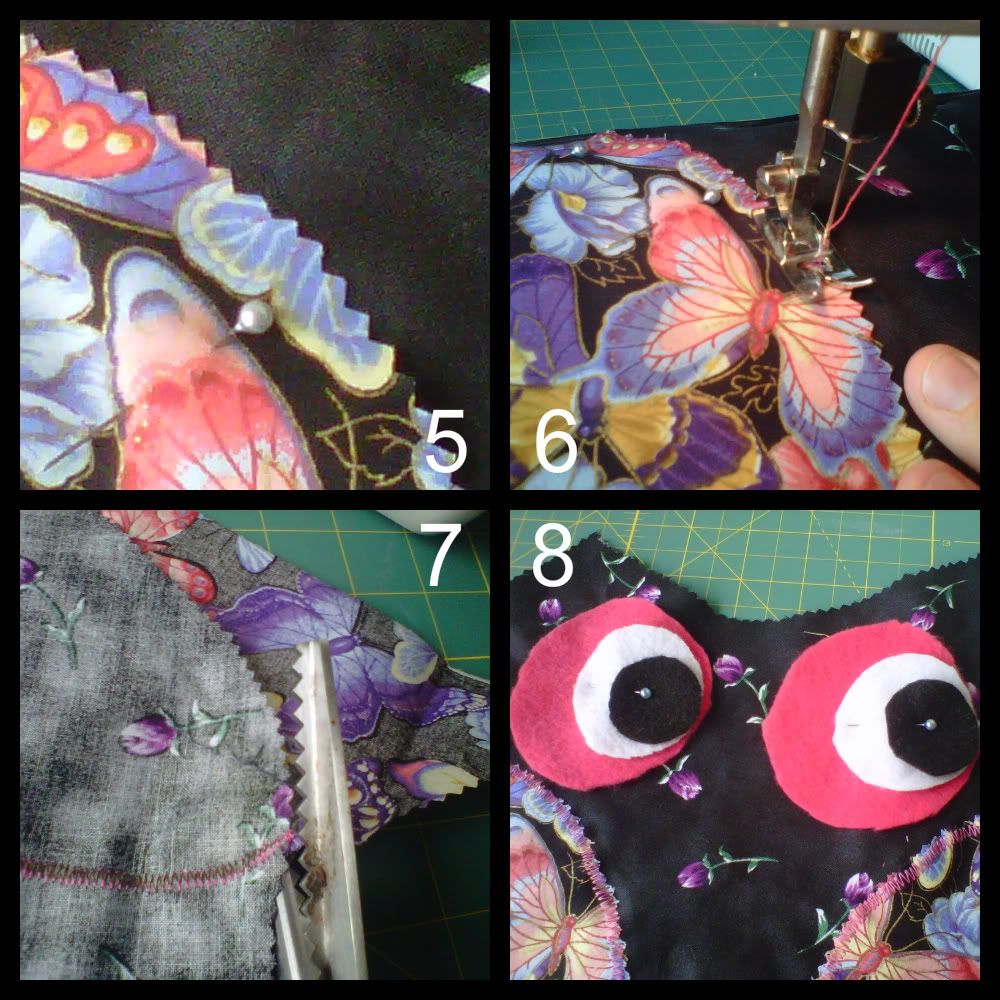
5. Cut 2 half circles or oval shapes out of coordinating fabric for 'wings'. Pin to front of owl right side facing UP.
6. Using the zig-zag stitch setting, sew wings to front of owl. You only need to sew inside edges. (the outside edges will be sewn later when you attach front & back)
7. Cut off any excess wing fabric to align to owl body edges.
8. Arrange eye circles as shown & pin. You can play around with them to create different moods for your owl. (centered, looking up, looking right, looking left etc) When you are satisfied, sew eyes using straight stitch.
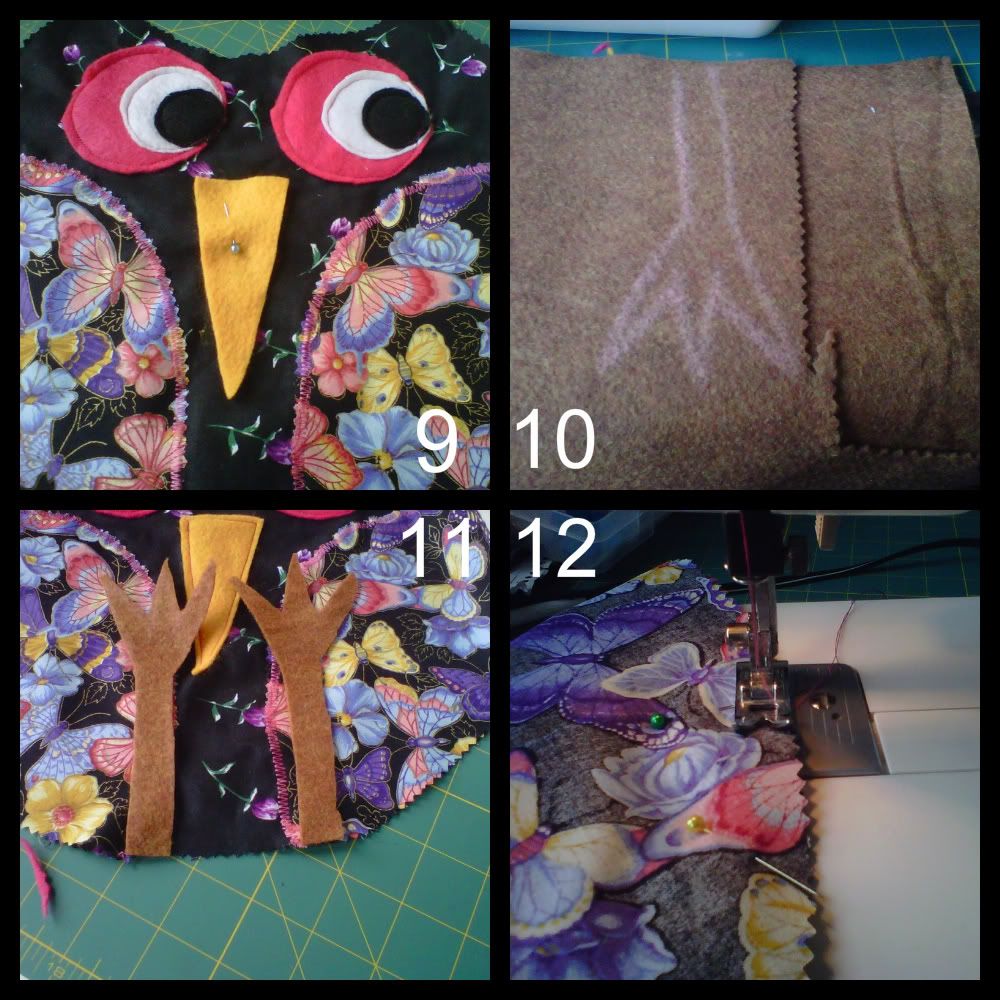
9. Cut and pin beak to front of owl, between eyes. Again, you can personalize your owl beak by making it fatter, shorter, narrower etc.
10. Draw legs (using chalk) to your preferred design. (super long & skinny, fat feet etc)
11. Attach legs, as shown, to bottom edge of owl body, upside down.
12. Place *back* of owl, right side *down*, on top of owl face. Pin edges,sew along edges (leave seam allowance) using straight stitch. I like to back stitch over legs to reinforce. REMEMBER to leave a portion OPEN & unsewn for stuffing.
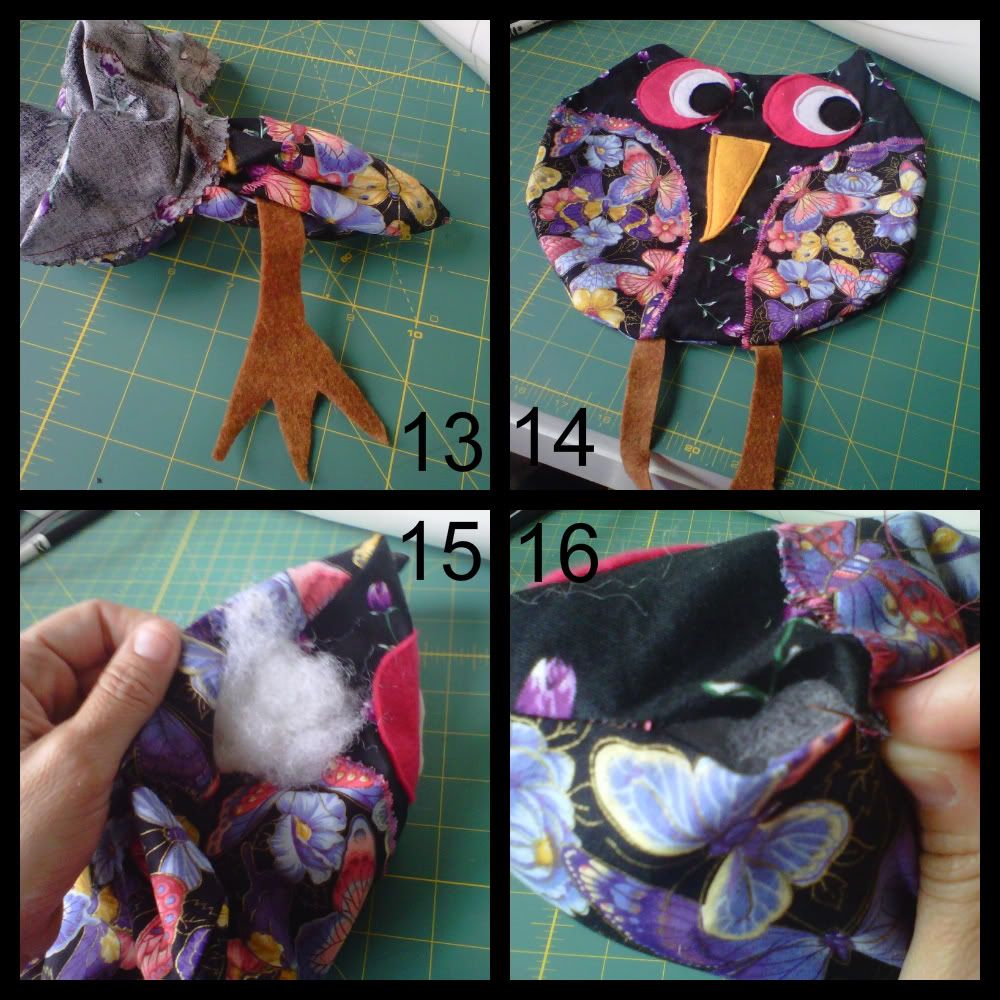
13. Reach in through opening of body & carefully pull owl right side out.
14. Inspect your owl that all edges are properly sewn, no leg missing or open seams (besides stuffing hole) etc.
15. Begin stuffing your owl. Use plenty of stuffing and be sure to get into 'ear' peaks. A pencil or crochet hook may be useful for those spots.
16. If you are satisfied with the shape & fullness of your owl, hand stitch closed.
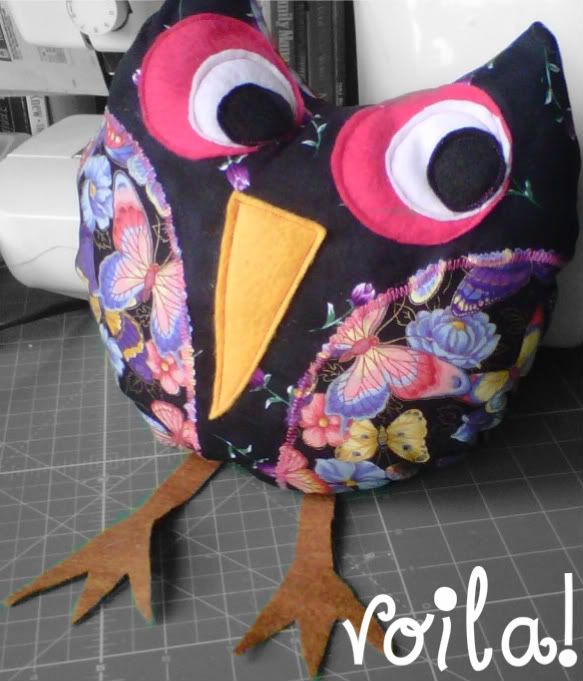
What I have shown you here, I believe is the simplest form to start with, using basic shapes. (mainly circle & triangle) *I* like to use felt for the eyes, beak and feet/legs, but feel free to experiment and have fun with it. I have also made stuffed legs and printed fabric eyes. Use your imagination and have FUN with it!
Let me know if you have any questions.
And OF COURSE, show me what you come up with.
I'd appreciate a link back if you use this tute & find it helpful. Feel free to create to your heart's content. ;-)

No comments:
Post a Comment