The toddler needs clothes. Really. He has outgrown all but one pair of jeans. The temps have taken a dip so he also needs some long sleeved T's. I haven't gotten a chance to go to the thrift store and I really hate to spend money unnecessarily. In an instant I told oldest to see if he had a T-shirt he no longer wore, maybe was too small...I wanted to see if I could make the toddler a quick shirt.
It was ridiculously simple. Sorry for the poor pic quality--I always think to take pix too late. Here is a semi-tutorial for using larger T's to create a piece of toddler clothing.
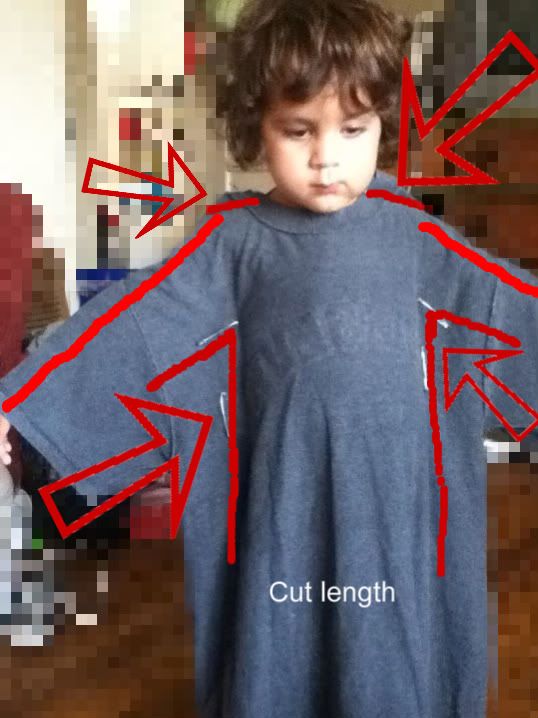
We put the T on him wrong side out so we could pin it to fit. We used LARGE safety pins. This avoids the risk of being poked. (Isn't this little guy such a patient little cutie?)
1. Pull up the shoulders first so you can pin it to avoid the the neck being too wide. Make sure it fits around the head easily to remove.
2. Have the toddler hold out his/her arms just long enough to get a good pin under. This will be where the 'sleeve' will begin.
3. Pin the sides along the waist for an appropriate fit.
4. Don't forget to mark the length you want.
5. I took my serger and eyeballed along the pinned edges. From under the arm to down the sides you are basically cutting or serging an upside down L shape on each side.
BE SURE to NOT serge or cut too close to the child's underarm OR they will not be able to comfortably remove or put on the shirt. Always better to be TOO BIG than too small...because you can always make it smaller but you can't make it bigger. IF you don't have a serger, you can simply sew a straight stitch along your lines/pins.
6. Serge (or cut & sew) the tops of the shoulders. Again pay attention NOT to make the sleeve too narrow. Line up the 'collar' so the edges are even.
7. After the underarm, sides & shoulders are cut and serged/sewn, serge the bottom or hem. I am blessed to have a serger so no hemming was required.
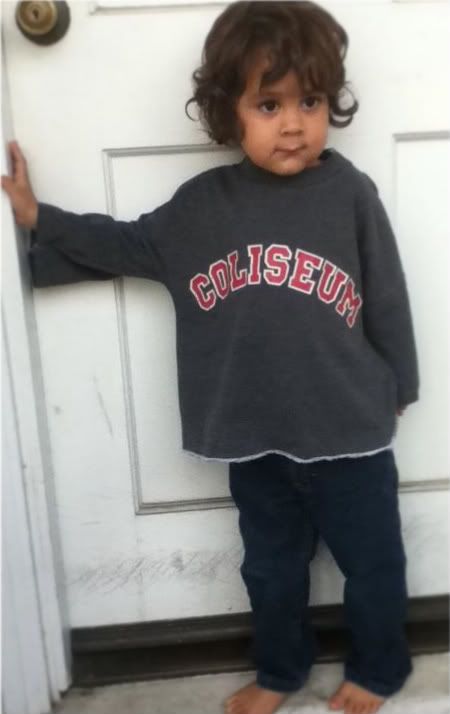
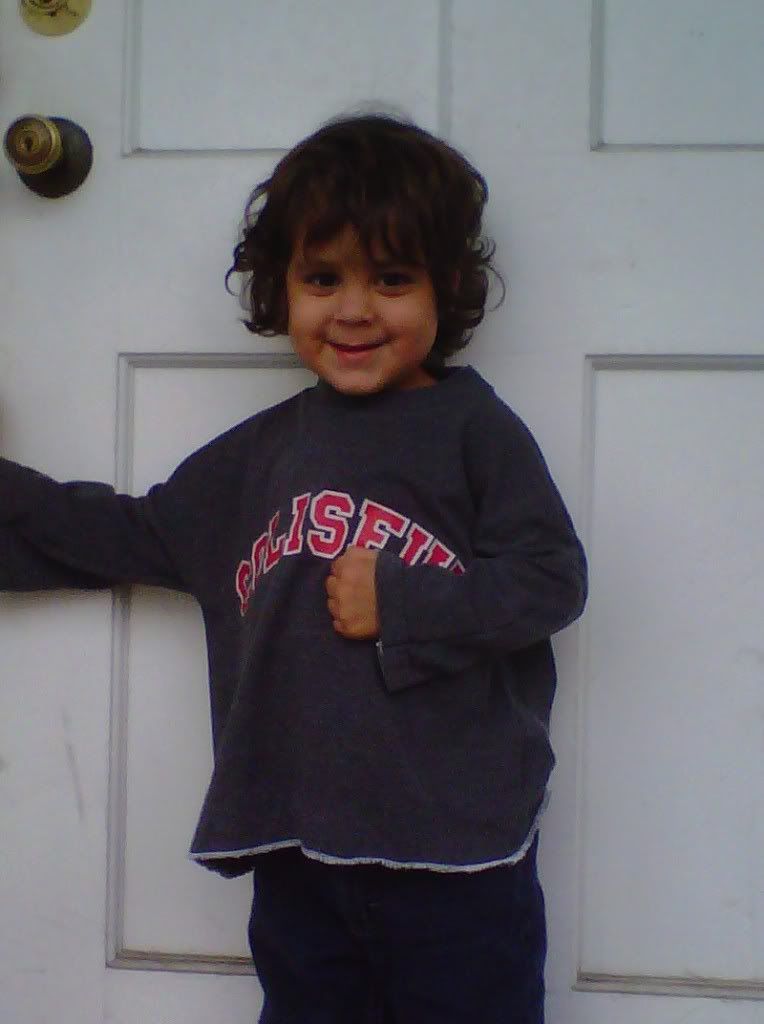
TaDaaaa!
I couldn't be happier with how this turned out. It took all of 10 minutes?
And the sleeve length was perfect! An adult size, short sleeve T produced a long sleeve toddler shirt.
The shirt cut ended up being more of a roomy-boxy sweat shirt shape but you could also ways cut/sew it narrower along the abdomen if you wanted. I didn't mind how this turned out and I can't wait to create more.
I love when I can repurpose an item into something new. I know we have a bunch of T's around here and now I can put them to good use instead of tossing and/or buying new ones that this little guy will out grow in no time!


2 comments:
You are so crafty! It looks great and what a fantastic idea.
Love this! I have a free shirt my daughter got at a basketball game that swallows her. I may need to try it.
Post a Comment