I wanted to make a rosemary wreath this year. I love the scent and the symbolism. Rosemary means remembrance. I thought it would be a nice way to remember those we miss so much during the holiday seasons. Plus I have three bushes of it growing in my garden. It also welcomes guests with a lovely fragrance when they enter through our doorway.
SUPPLIES:
wreath form
floral wire
rosemary
scissors (to cut wire)
I used two coupons I had for Joann's. The wreath form and floral wire were around $2 each full price but with my two coupons I was able to get each of them for about half price. I have lots of wire left over for another project too. That makes the cost of this wreath UNDER $2!
You could virtually make this project for *free* using a wire hanger (we never have any since the Mr. no longer needs to dry clean his clothes) bent into a circle wreath form and yarn, twine, fabric scraps, or twisty ties that you have around the house to attach the rosemary. Don't be afraid to try various herbs or plants. I have read that boxwood makes a great wreath...I might try that next because I have a large box wood bush in my back yard too.
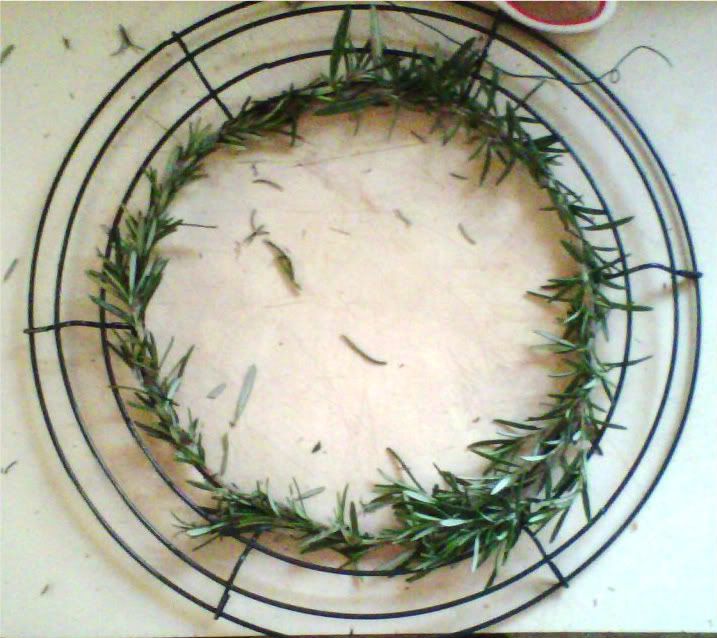
1. Starting with the longest and most pliable pieces, I wired stems along the inner most ring of the wreath. Work the wire like thread, up and around the stems and wire.
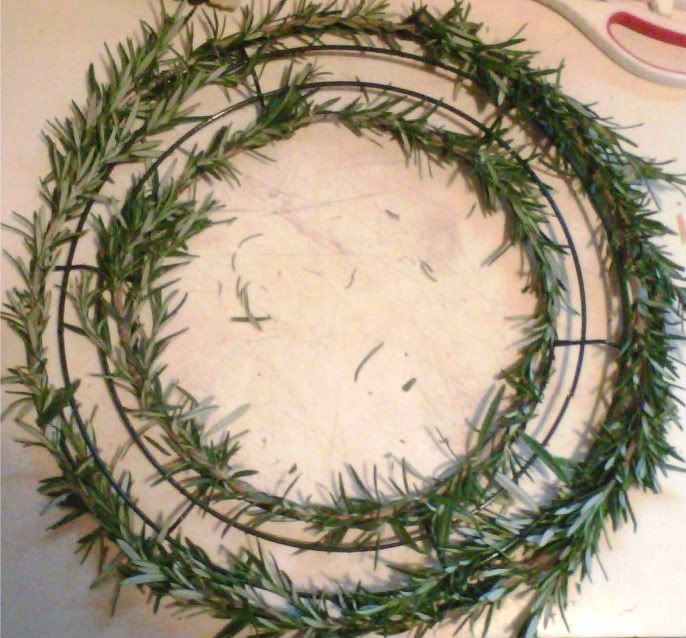
2. Use other long and pliable pieces to wire stems along the outer most ring of the form. Over lap tips and ends.
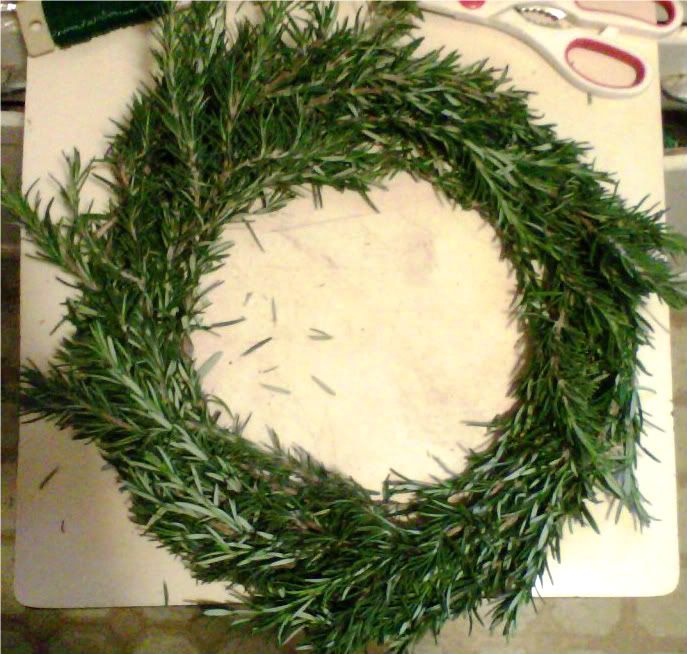
3. Use the split or bushy stems to fill in the center of the ring. Over lap tips over ends, wiring as you go. This section is more of a challenge to work with the wire. I suggest using smaller lengths of wire at a time and twisty them off on the back. I actually flipped the wreath form over at this point in order to wire the pieces on through the back. Keep the form face down on top of the rosemary to help prevent moving. Once the pieces are initially secure on their ends, go back and wire them along their tips.
4. Fill in any spaces with shorter, straight pieces. I was able to work the small pieces into the wreath form with out having to add any more wire, but go ahead if you need to. It's amazing how the wire disappears!
When it's as full as you like-you're finished!

There is a very large rusty nail in our door that we could NOT remove, making the red ribbon hang askew. Oh well.
I also used bits of wild rosemary, which does not grow in straight stems, to add a little more texture and fluff around it.
I would also like mine to be fuller so I think next time I will purchase a larger wreath form. OH! The rosemary will dry...so I am going to attempt to keep it fresher longer by spritzing with water daily. Let me know if you have any other suggestions or ideas for that.
Linked to:
LoeLaLoep