Showing posts with label make do without challenge. Show all posts

Tuesday, July 23, 2013

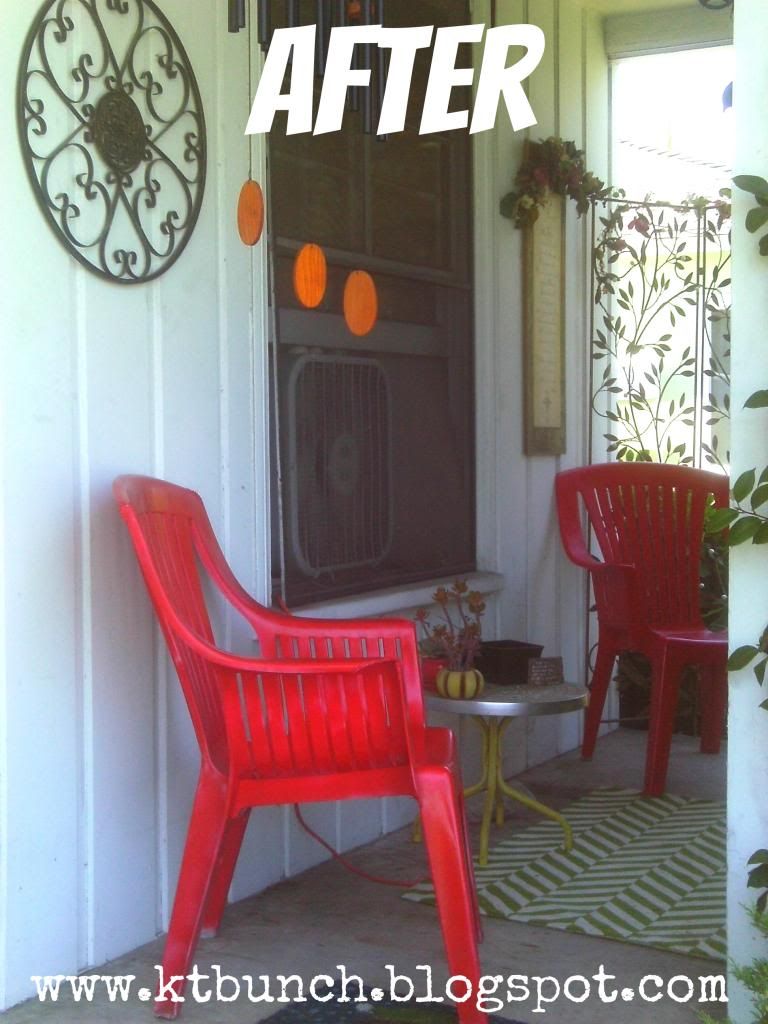
20 Minute Mini Porch Make-Over

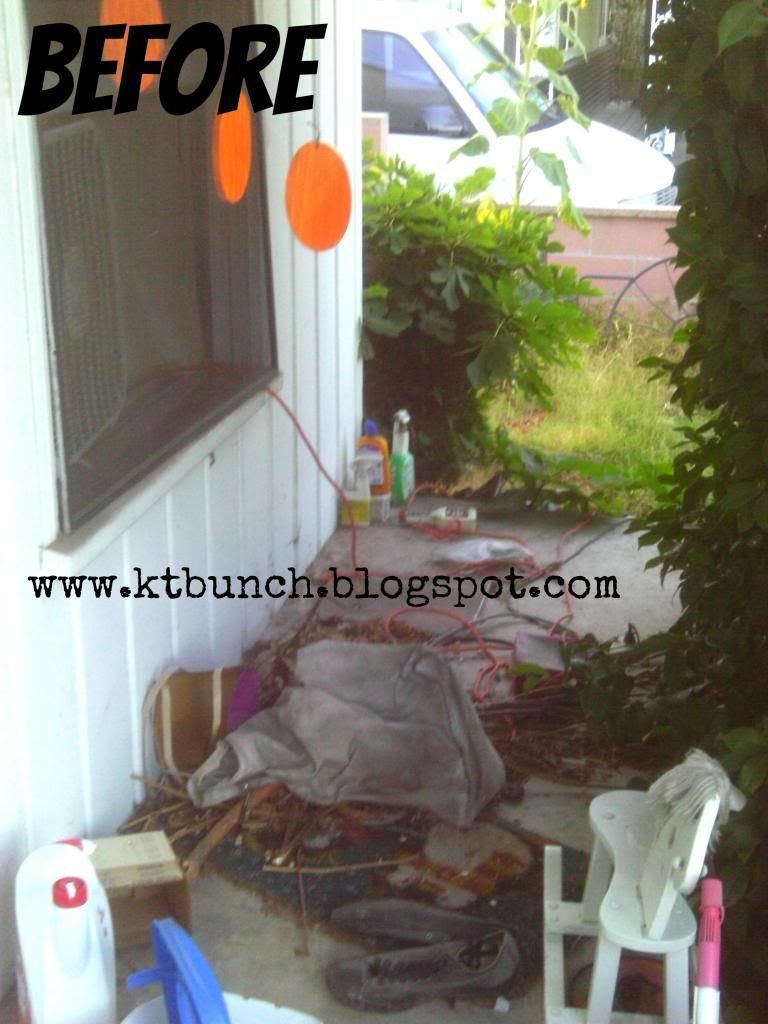
We've lived here for years and have never fully utilized our porch. The front of it is blocked by a large bush that is as tall as the roof. I'm thinking it was to block sound from the main street. Since no one could see the porch, because of the bush, we mainly used it for extra storage space, aka: junk.

My sister-in-love was over the other day and the house was retaining the summer heat. We took two of my new-to-me-freshly-painted chairs, squeezed them onto the porch to enjoy the breeze. It hit me that I could create a cozy space using what I had on hand.

I cleared the junk and trimmed the bush back. I had a rug from Target that I got on clearance, moved a little table over, added twinkle lights and a room divider I had in my bedroom, hung a few wall items and candle sconces. Voila!


Sunday, January 22, 2012

Save those pants!


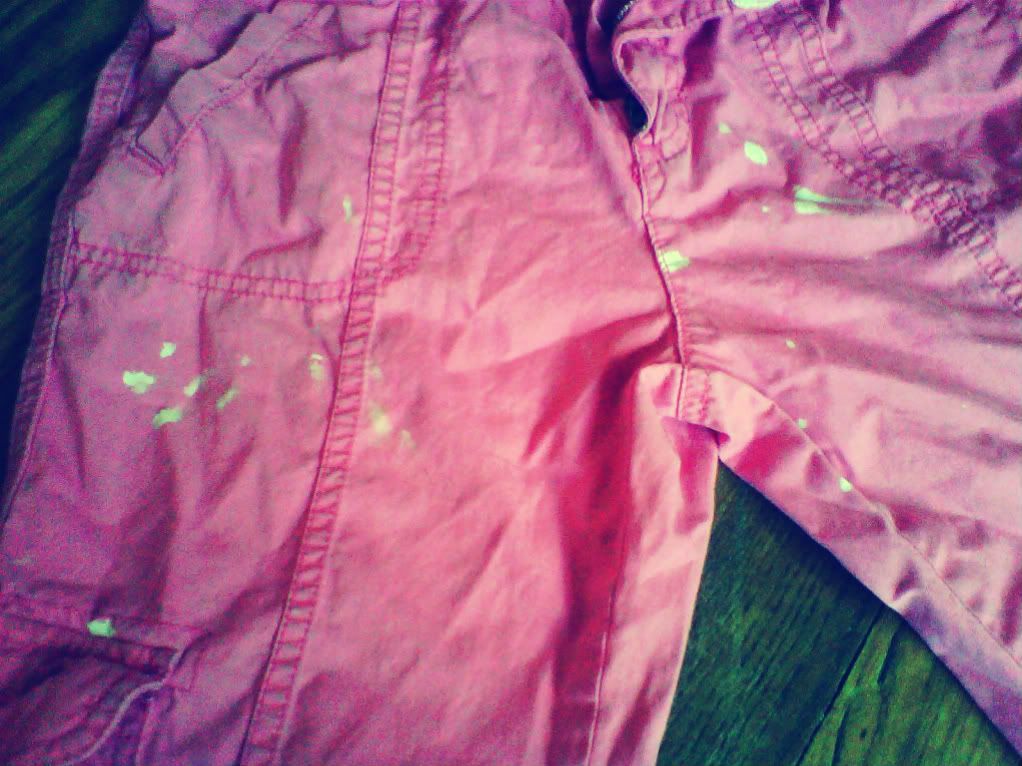
We rarely have much less use bleach in our home. However, of course the ONE time we do---the Birdy Girl mysteriously got bleach spots on a pair of her pants. They fit her well and had lots of life left int hem, so I hated to have to get rid of them.

After seeing a few pots in blog land about 'art' they made with bleach pens....I splurged and purchased one. I knew that was the answer.


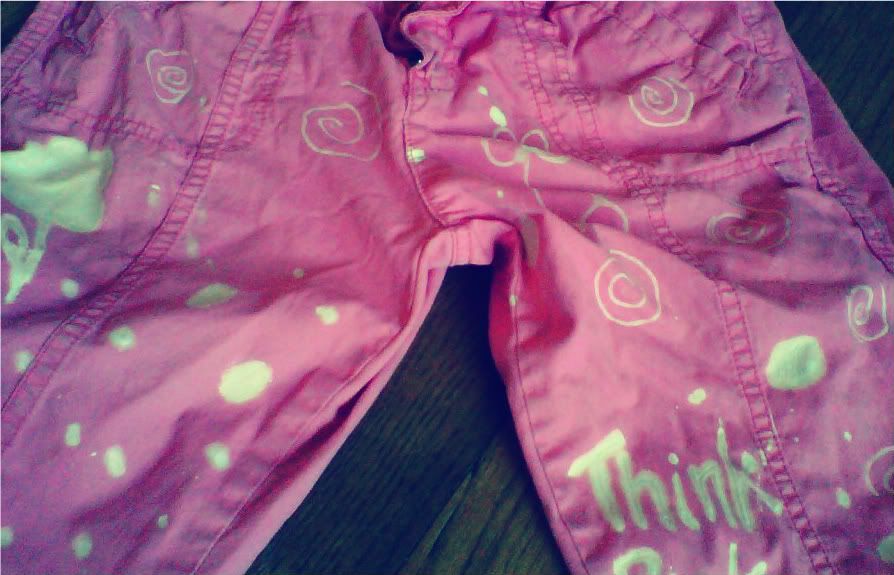
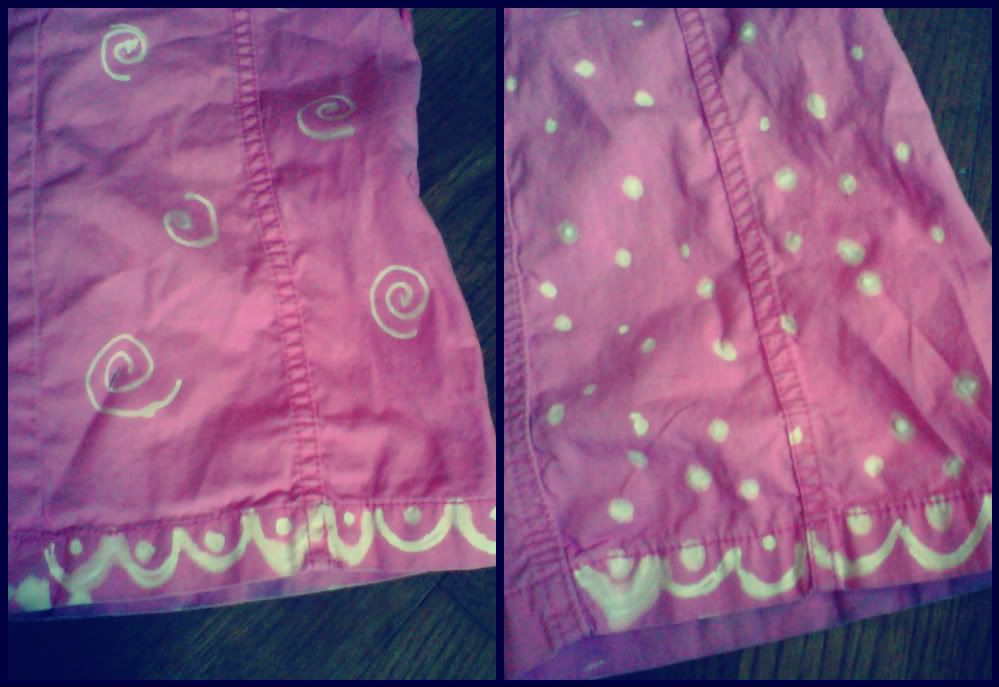
We went to town creating dots and flowers and eventually swirls on her pants to cover up the original spots. It took some getting used too but by the end we were nearly pros. haha.


The 'pen' has two ends, a fine point and a thicker point. The fine point was used for the swirls and the thicker end worked well for the larger polka-dots. Occasionally, the liquid would come out fast and thick so you really should practice on scrap fabric to get the hang of it. We didn't care too much since these pants were already *ruined*, we had nothing to lose. The girl loves how they turned out and now she has extra life in her pants as well a fun 'new' pair.

Monday, January 09, 2012

Skirt to Scarf

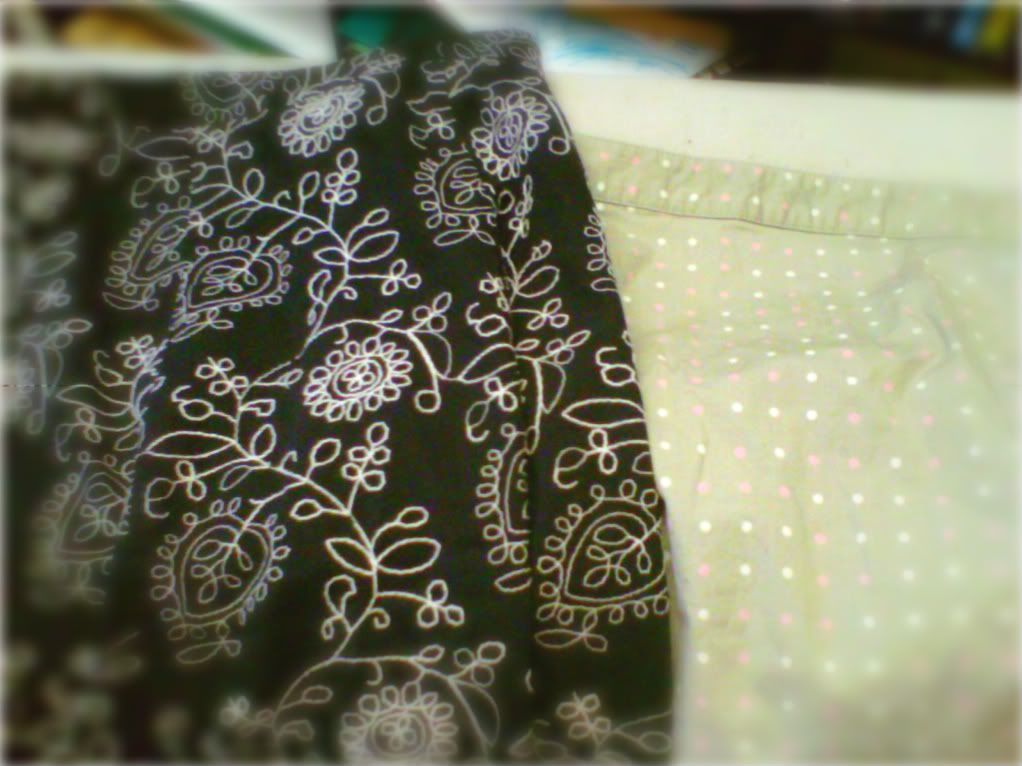
I needed a gift for  a friend so I dove into my donate stash and found these two skirts. I knew exactly what I wanted to make: a fabric scarf.


(forgive the pics...toddler got to the camera and it seems to be permanently out of commission. SO I had to take these with my phone. Boo!)

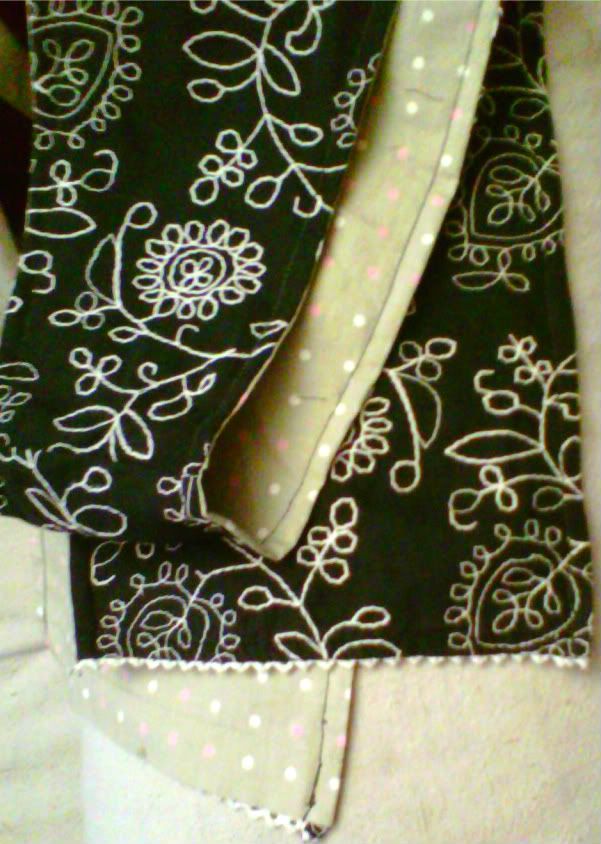
I chose the black skirt especially for the trim. The other fabric is a nice neutral. 


Tada! Reversible scarf!

Sunday, November 06, 2011

Baby Book

Another baby shower, another baby gift. I had a root canal on Friday--& it was much more traumatic (ie: *painful*) than I expected. I had planned on creating my gift on Friday but just couldn't. I was pressed for time on Saturday, the day of the shower, and needed to change plans slightly.

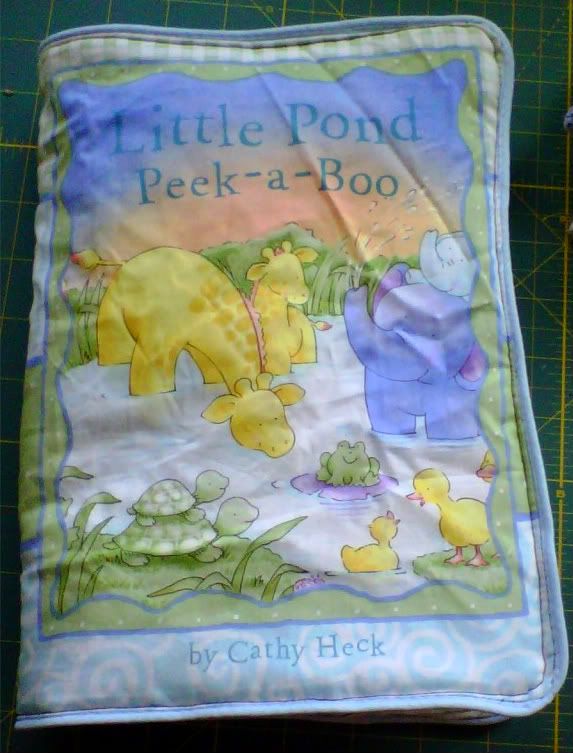
I made this cloth book. It was plan B, admittedly. It is an easy go to & makes the perfect gift for a little one. A baby can chew on it, spit up on it, drag it around...Hey! It can even double as a burp cloth over your shoulder--just flip the page each time. haha.

Then just toss in the wash!

Cloth books make great beginner sewing projects & the recipient will *always* love them & won't even notice any mistakes.

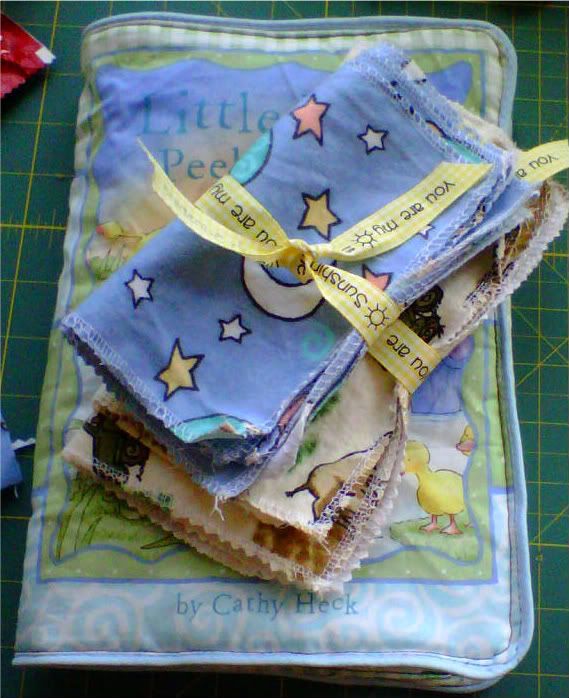
Since I was unable to go with my original gift idea, I also added home made baby wipes/wash cloths.  Another simple 'go-to'. 


I cut squares of flannel I had on hand and serged all around the edges. Voila'!

Soft, economical AND eco-friendly + an easy way to stash-bust. 

I wrapped everything in a sweet bow and placed in a brown paper gift bag. Birdy cut out & then glued on extra fabric motifs from the cloth book to the sides of the bag.

The recipient loved it.
And her shower was absolutely lovely!
The table centerpieces were gallon sized succulents wrapped in brown paper & twine. Each guest received a small succulent plant wrapped the same way. So sweet. The best looking gender-nuetral shower I've ever seen. (the parents to be have chosen to keep baby's gender a secret--even to themselves-how exciting!)

Tuesday, November 01, 2011

Felt Halloween Candy Bag

Although my kiddos each made their own individual costumes this year--I couldn't *not* have my hand in something! We dressed the toddler as an Angry Bird (based on a video game).  I figured I could @ least make his candy bag.


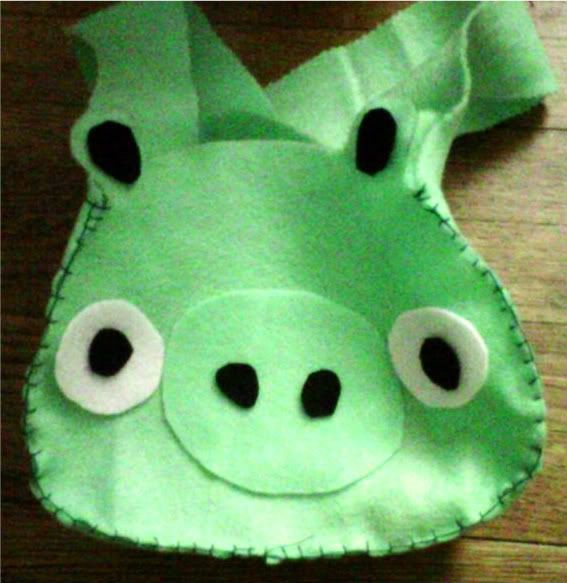
His trick-R-treat bag is a pig character from the game. (the birds are shot @ the pigs) I thought it turned out adorable and was very simple.

I hand sewed the primary bag pieces together. The rest of the facial pieces were hot-glued on in the name of time efficiency. I used green felt I had on hand and bits & pieces of black & white felt.

He was able to wear it messenger bag style--across his chest. ;-)

Felt is such a good choice for simple or beginner crafts. It doesn't fray when cut so it never needs seams or serging. It's also great for use with crafts for children as well a wide variety of other crafts like: felt flowers to be used as brooches or hair pins, hand or finger puppets, ornaments, book covers, baby shoes, holiday garlands, pin cushions or as an accent on an already made project. Just google felt crafts to find inspiration.

Tuesday, October 25, 2011

Big Brother T to lil brother T: make your own toddler T-shirt

The toddler needs clothes. Really. He has outgrown all but one pair of jeans. The temps have taken a dip so he also needs some long sleeved T's. I haven't gotten a chance to go to the thrift store and I really hate to spend money unnecessarily. In an instant I told oldest to see if he had a T-shirt he no longer wore, maybe was too small...I wanted to see if I could make the toddler a quick shirt.

It was ridiculously simple. Sorry for the poor pic quality--I always think to take pix too late. Here is a semi-tutorial for using larger T's to create a piece of toddler clothing.

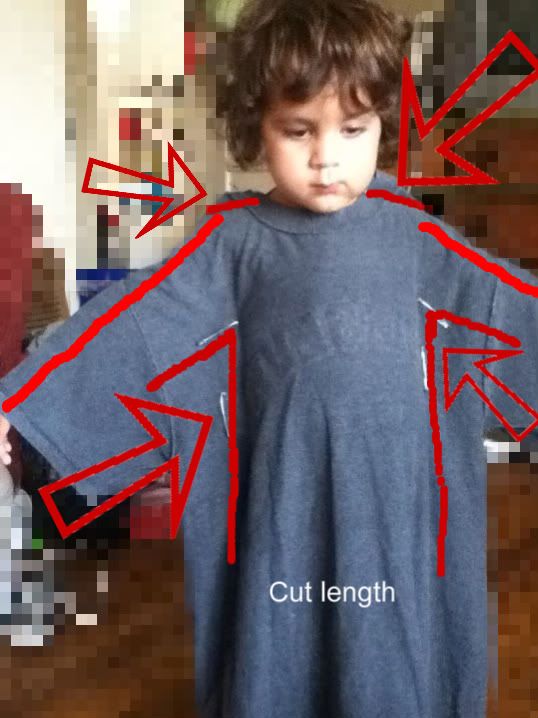
We put the T on him wrong side out so we could pin it to fit. We used LARGE safety pins. This avoids the risk of being poked. (Isn't this little guy such a patient little cutie?)

1. Pull up the shoulders first so you can pin it to avoid the the neck being too wide. Make sure it fits around the head easily to remove.

2. Have the toddler hold out his/her arms just long enough to get a good pin under. This will be where the 'sleeve' will begin.

3. Pin the sides along the waist for an appropriate fit.

4. Don't forget to mark the length you want.

5. I took my serger and eyeballed along the pinned edges. From under the arm to down the sides you are basically cutting or serging an upside down L shape on each side.

BE SURE to NOT serge or cut too close to the child's underarm OR they will not be able to comfortably remove or put on the shirt. Always better to be TOO BIG than too small...because you can always make it smaller but you can't make it bigger. IF you don't have a serger, you can simply sew a straight stitch along your lines/pins.

6. Serge (or cut & sew) the tops of the shoulders. Again pay attention NOT to make the sleeve too narrow. Line up the 'collar' so the edges are even.

7. After the underarm, sides & shoulders are cut and serged/sewn, serge the bottom or hem. I am blessed to have a serger so no hemming was required.

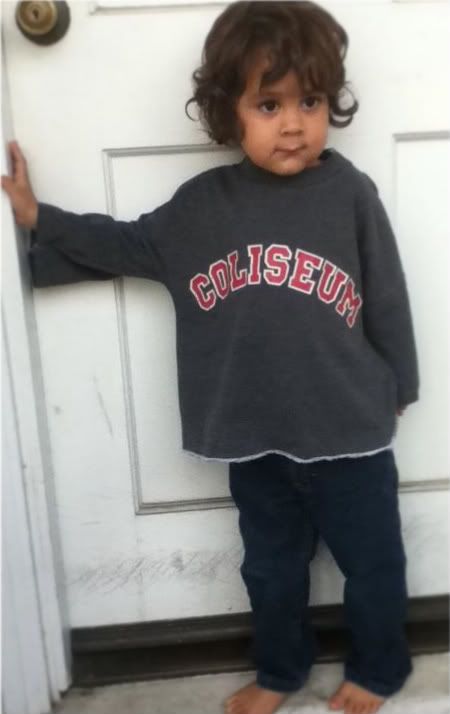
TaDaaaa!

I couldn't be happier with how this turned out. It took all of 10 minutes? 

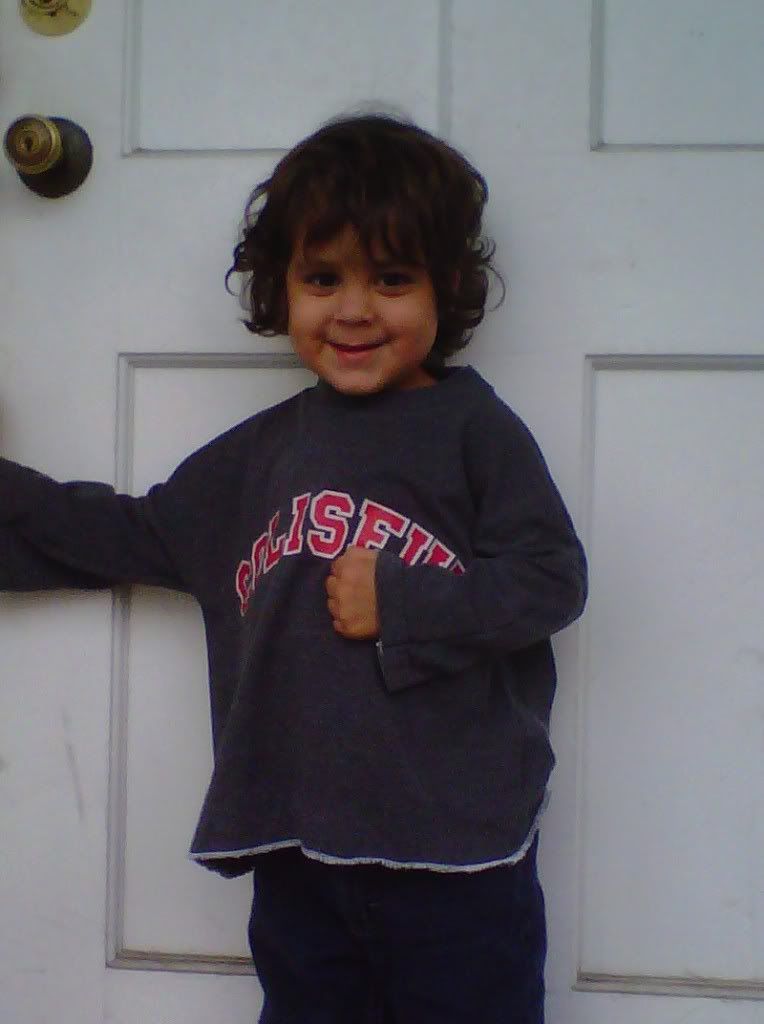
And the sleeve length was perfect! An adult size, short sleeve T produced a long sleeve toddler shirt. 

The shirt cut ended up being more of a roomy-boxy sweat shirt shape but you could also ways cut/sew it narrower along the abdomen if you wanted. I didn't mind how this turned out and I can't wait to create more.

I love when I can repurpose an item into something new. I know we have a bunch of T's around here and now I can put them to good use instead of tossing and/or buying new ones that this little guy will out grow in no time!

Don't you think this would make a great GIFT for new parents?....sneak one of daddy's old favorite T's & recreate it into a shirt the toddler can wear. You can also make little pants out of old T's as well. (have I posted that before? if not, I really should!)  I have a baby shower coming up soon...hhhmmm... ;-)

For a little girl's T, you could even flare the sleeves, which would be adorable. Don't you think? So many options--it's too easy NOT to try, isn't it? This would make a great first sewing or serging project. The toddler won't mind if you make a mistake and no one will even notice. Go ahead, try it today. I know you can do it. 


Seven Alive

Saturday, October 22, 2011

For the Garden

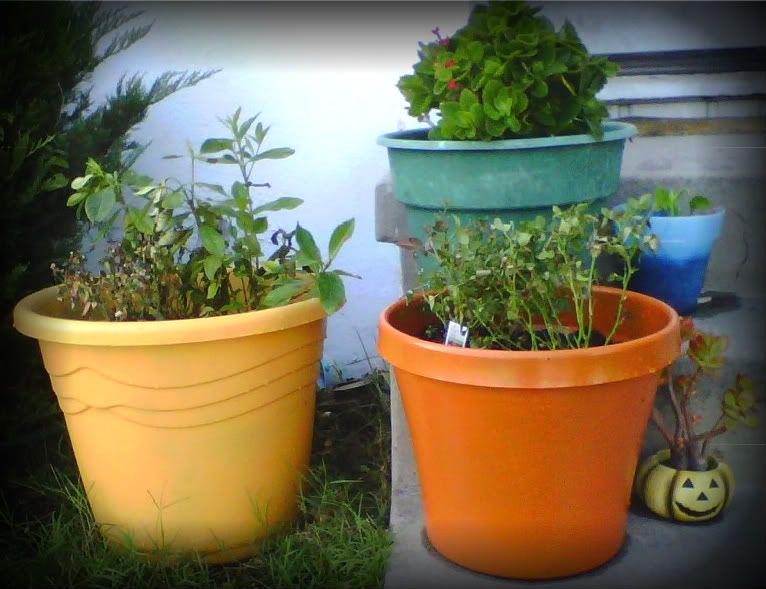
I've been working on my garden the past few months, not only adding plants but also trying to add visual interest. Being a renter, I've also tried to keep plants in pots so they are portable. A few of our pots were faded and pretty boring looking.

The other day I decided to spruce them up a bit with spray paint I had around the house. I bought it months ago for another project then changed my mind and they were never used. I decided to paint the larger one a golden yellow color and the smaller one a bright orange. The bright orange one's original color was a darker green so it ended up not being so bright, which was actually nicer. The colors go well for Fall but I think they will look good year round.

For now they are on the porch. The green one behind them could use some work, but it's harder to do while there is still a plant in it. The two we painted were empty.

My mini-roses aren't looking so hot right now. Not sure why. They were on the porch and looked lush and lovely, about to bloom again. Then suddenly a few days later they looked near death. 

The bigger yellow pot has a gardenia in it. It was looking neglected too but sprung back the next day after replanting it. Hopefully the roses will recover just as well.

Wednesday, October 12, 2011

Bedroom Side Table re-do

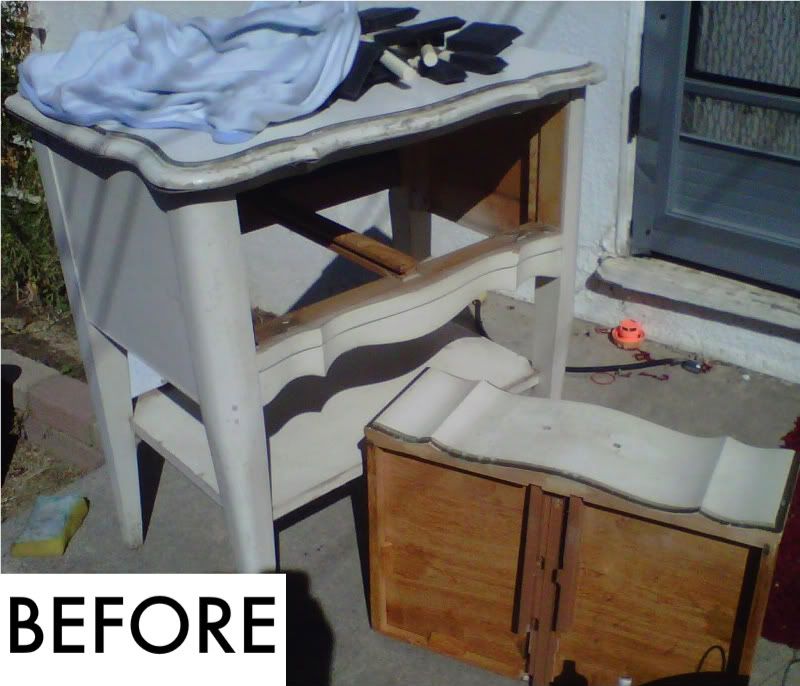
I must've forced the Mr. to curb crawl this side table months ago if not last year. It took residence on our porch, sadly calling out to me every time I went in or out of my front door. I planned to get to it as soon as I could.

Same old story, right? Well, this weekend I was in a creative frenzy. I finally dragged-ok had oldest carry-that heavy little table to the back yard and the Birdy girl & I got to work.

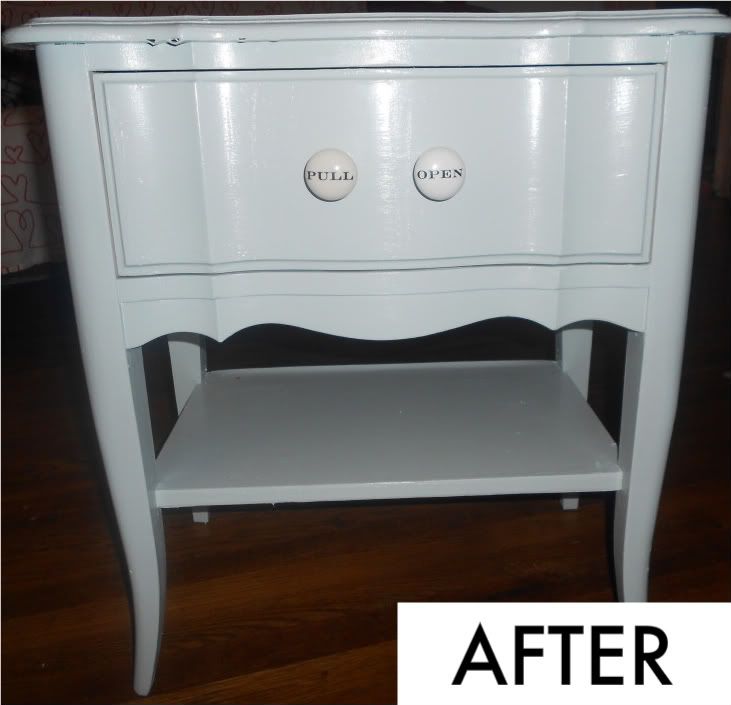
I used primer, since I wasn't going to do any sanding, I already had on hand and some grey-blue oops paint I had also scored months ago.
We painted Birdy's room white this summer and have slowly been decorating it a neutral white on white since the male toddler is also housed there. Birdy also has this idea that she wants her room *vintage*. Well, this side table certainly fits that description.

It's not a new piece, but it definitely has much more life in it now!

It was the perfect day to paint it too, warm and dry. Almost too warm. The coats dried quickly so we were able to complete the entire piece in one afternoon.

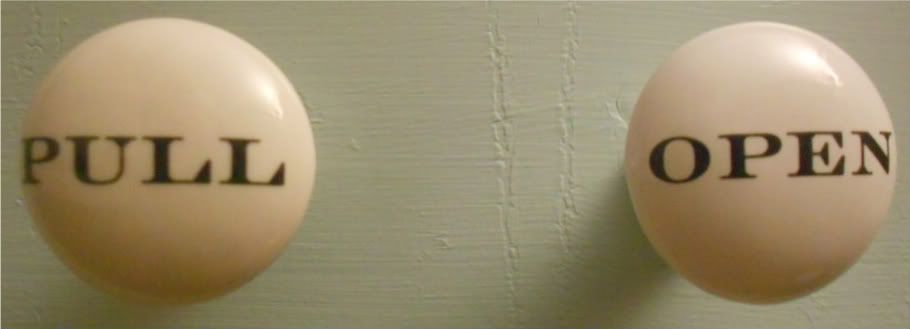
I found the drawer pulls at Michael's Arts & Crafts store for only $1.50 each. Initially, I purchased them thinking I could use them for my own desk that doesn't have any, but the screws were too big. They fit the drawer in this table perfectly!


Aren't they just adorable? I thought so too.


Friday, July 29, 2011

Emerald City Barbie?

In *old* news I made these glamorous doll dresses a few months ago. I had green velvet-like fabric and this other sparkly green fabric that both had some stretch to it. I used the selvage edges so I would not need to hem edges. It's the most basic thing in the world. I cut a small strip for the top and sewed it into a tube shape.  Then I cut a larger strip for the bottom skirt portion and attached sides to create a larger tube shape.  I 'gathered' one end of the larger tube and attached it to the smaller tube, creating a 'dress'. Voila'! Easy peasy. I especially liked that there is no button, velcro or snaps to mess with because the fabric is stretchy. It slips on the dolls fairly easily and it can accommodate the sizes and shapes of a few different dolls, as indicated in the picture.

Don't they look like they are ready for a ball in the Emerald City?

Monday, June 27, 2011

Baby Shower gifts!


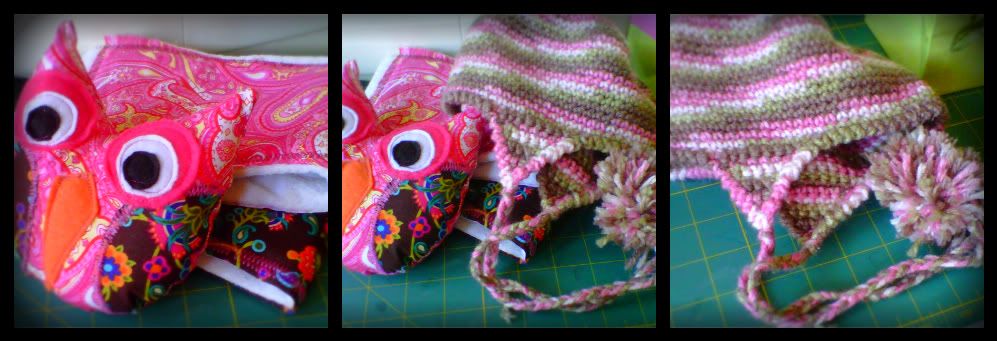
I attended a baby shower on Sunday afternoon for a long-time friend, she's expecting a girl after two boys. I knew I wanted to give a home made gift but I had not been on the ball @ all. I whipped together one of my owl but in miniature size. It came out adorable AND was super fast to make....it took my standard time of 'about an hour' from start to finish.  But what else?

My wheels of creativity started turning over night so that morning I whipped out a couple burp cloths in coordinating fabric, dug through my stash of crocheted items and grabbed a hat that was cute but had been too small for Birdy when I made it, found a small, cute canning jar & filled it w/ some home made detergent and put a piece of coordinating fabric over the lid. Voila'! Instant gift package. Then I wrote a blessing on my card to her. Bummed that I forgot to take a pic of the jar of detergent.

I was pleased how it all worked out! Everything looked adorable & she loved it. I dug through my stash of cloth diapers and was able to find 2 that I had purchased specifically for that purpose but never made. Then I lucked out to actually find a lid that fit the canning jar on the first try too! ;-) I already had all the supplies on hand and didn't need to spend any money.

I am also hoping to whip out a pair of crochet Mary Janes for her little bebita....because admit it, it's not every day you have the opportunity to crochet a sweet little pair of Mary Janes! ;-)

Saturday, March 19, 2011

FREE Owl Pillow tutorial


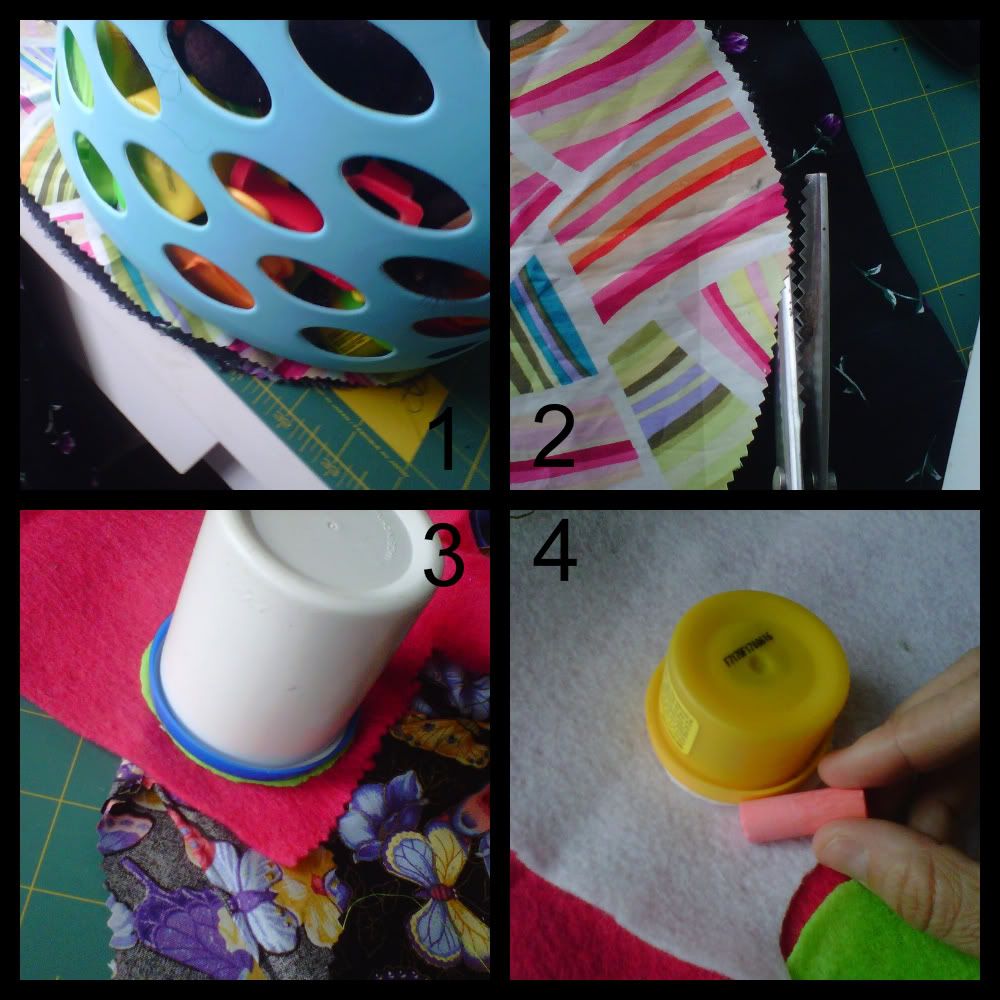
1. Decide how big you want your owl pillow to be. Find a circle shaped object you can trace. You can see I used the bottom of a basket. You can use chalk to trace around your object. Add two peaks, one on each side of the top of your circle to create the owl 'ears'.

2. Cut out your shape. It saves time to cut @ least 2 pieces @ a time. (front & back) You can also layer 4 pieces and have enough for 2 owls in the same amount of time. (I hate cutting so I look for short-cuts all the time!)

3. Again, find a smaller circle shaped household item that you can trace for the outer eye. Cut 2.

4. Find a circle slightly smaller for the white of the eye. Trace & cut 2. Do the same for the black center of the eye, or you can cut those freehand.


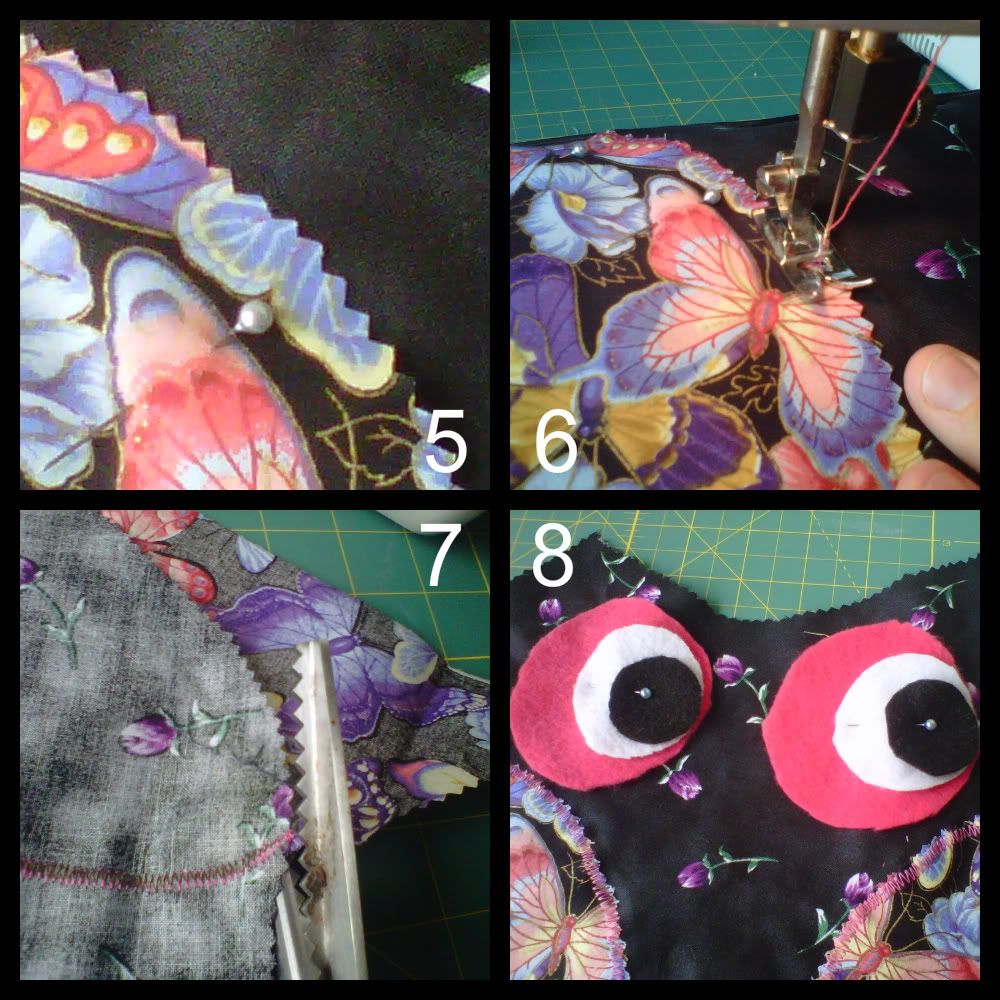
5. Cut 2 half circles or oval shapes out of coordinating fabric for 'wings'. Pin to front of owl right side facing UP.

6. Using the zig-zag stitch setting, sew wings to front of owl.  You only need to sew inside edges.  (the outside edges will be sewn later when you attach front & back)

7. Cut off any excess wing fabric to align to owl body edges.

8. Arrange eye circles as shown & pin.  You can play around with them to create different moods for your owl. (centered, looking up, looking right, looking left etc) When you are satisfied, sew eyes using straight stitch.


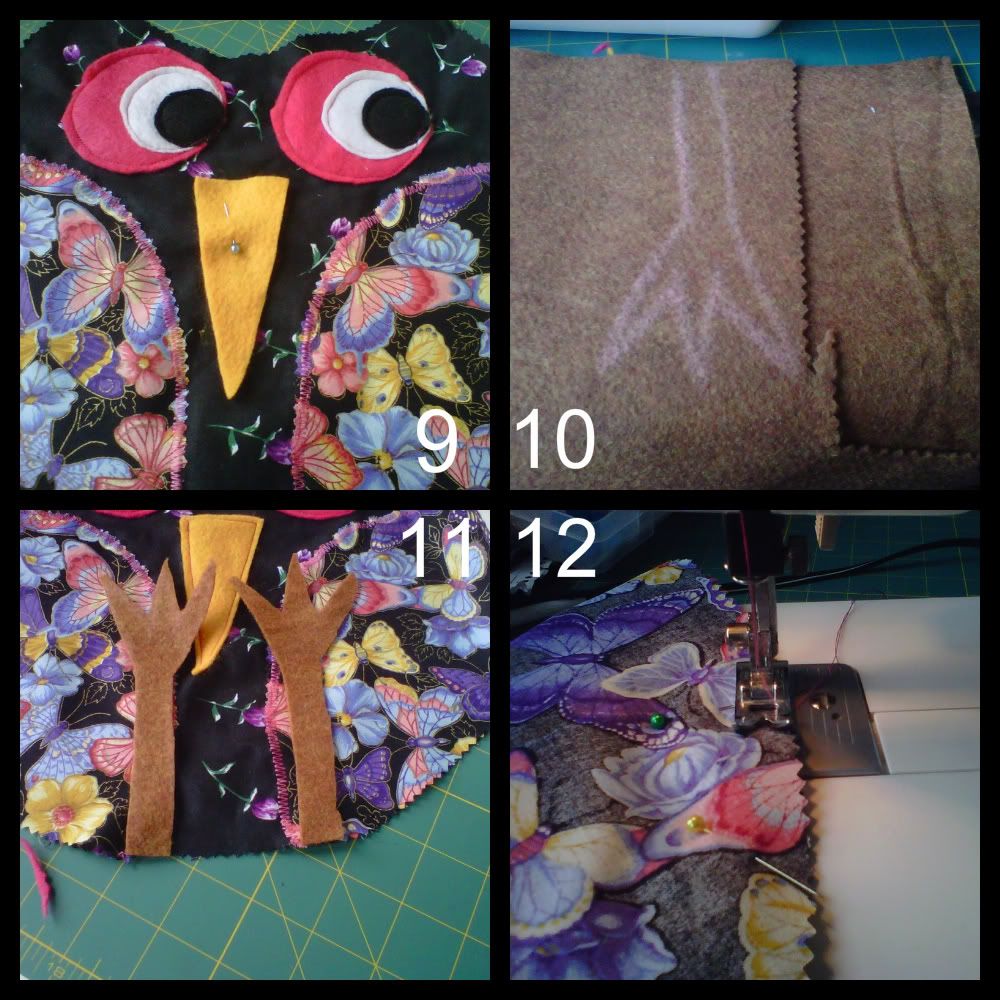
9. Cut and pin beak to front of owl, between eyes. Again, you can personalize your owl beak by making it fatter, shorter, narrower etc.

10. Draw legs (using chalk) to your preferred design. (super long & skinny, fat feet etc)

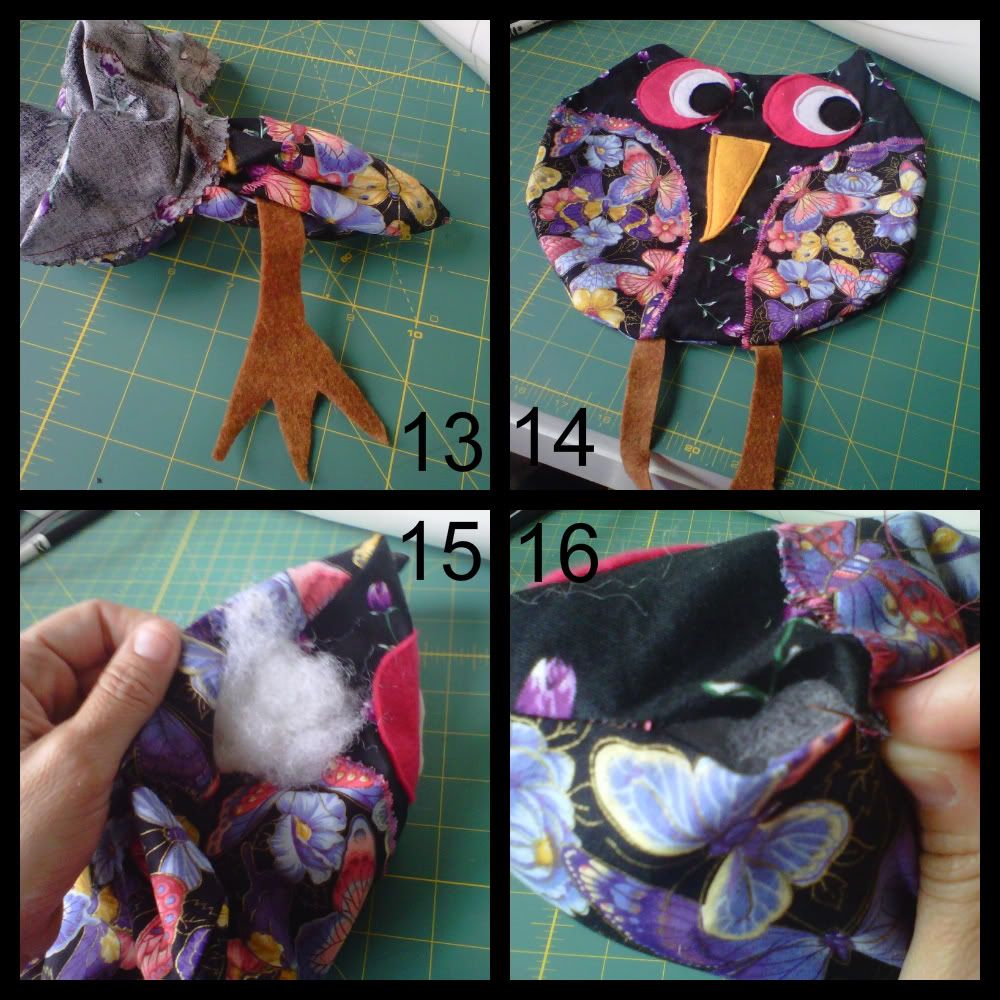
11. Attach legs, as shown, to bottom edge of owl body, upside down.

12. Place *back* of owl, right side *down*, on top of owl face.  Pin edges,sew along edges (leave seam allowance) using straight stitch. I like to back stitch over legs to reinforce. REMEMBER to leave a portion OPEN &  unsewn for stuffing.


13. Reach in through opening of body & carefully pull owl right side out.

14. Inspect your owl that all edges are properly sewn, no leg missing or open seams (besides stuffing hole) etc.

15. Begin stuffing your owl. Use plenty of stuffing and be sure to get into 'ear' peaks. A pencil or crochet hook may be useful for those spots.

16. If you are satisfied with the shape & fullness of your owl, hand stitch closed. 


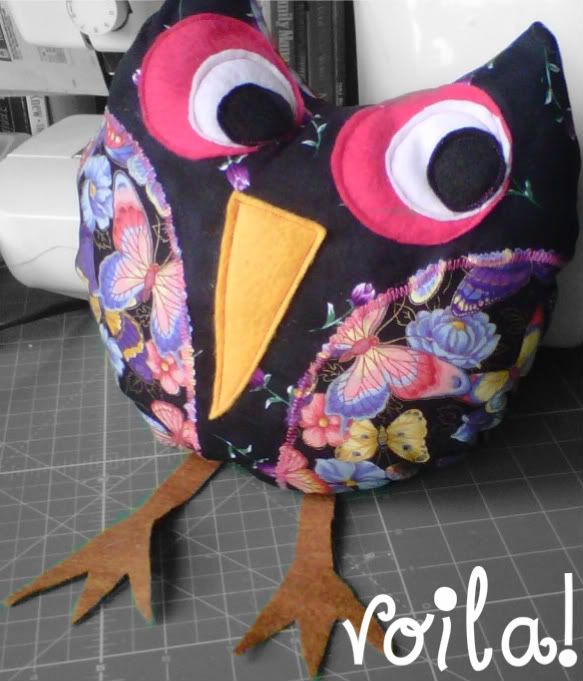
What I have shown you here, I believe is the simplest form to start with, using basic shapes. (mainly circle & triangle) *I* like to use felt for the eyes, beak and feet/legs, but feel free to experiment and have fun with it. I have also made stuffed legs and printed fabric eyes. Use your imagination and have FUN with it!

Let me know if you have any questions.
And OF COURSE, show me what you come up with.  

I'd appreciate a link back if you use this tute & find it helpful.  Feel free to create to your heart's content. ;-)


Wednesday, March 16, 2011

belated Valentine gifts!


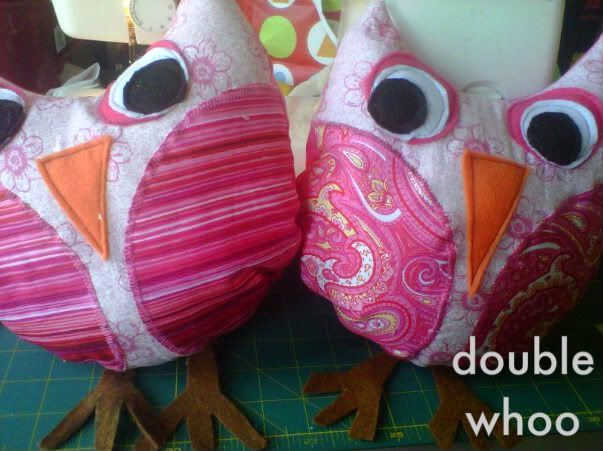
Another pair of sweet sister owls for some friends!
Seriously, aren't they just the cutest ever!!
I just LOVE making these, so simple.
I have an order for another pair--so I plan on making a tutorial for them. Although, they seem pretty self-explanatory to me, don't they?

Wednesday, March 09, 2011

sewing love

As part of my "make do or do without challenge", I have not wanted to purchase any gifts (or much of anything, personally!).  Instead I want to be more creative and save money at the same time. Well, toddler gift giving fits the bill. We had a party this weekend and I was able to whip this up before we party time. Inspired by & tutorial here!  

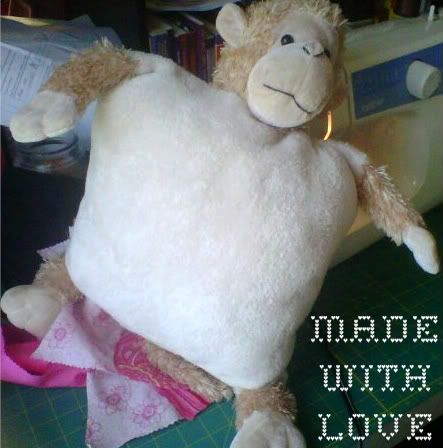
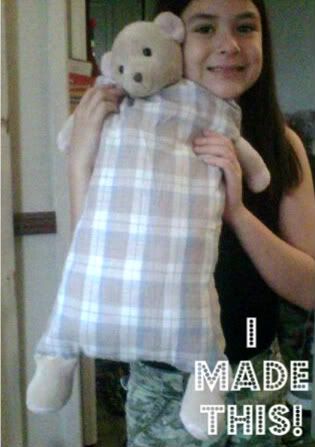
We used a stuffed animal (w/ no sentimental value) we already had and dismembered it. I happened to have on hand, this very plush snuggie shawl that I had already cut a portion of for something else.  It made the perfect "pillow" part of the body. Attached body parts & sew into a square. It's pretty simple, although attaching the head can be a challenge for the novice. I already had stuffing on hand too.  It cost me no physical $$$, just my time. Isn't it SO cute?

Well, then my daughter felt inspired....


She took another non-sentimental value "stuftie" and created this for her baby brother.  How sweet huh? We were running low on stuffing so we re-used a pillow no one was using anymore. Of course, you could not do that if you wanted to sell your creation, but for home use--it's the perfect *upcycling* use of a pillow. We also though using a patterned fabric made it much cuter than a plain solid.  K just LOVED it and kept trying to take it from her before she was even finished!  I helped her sew over the limbs and hand sew it closed, but she basically did the rest herself. Can I mention how proud I was seeing her working at my sewing machine?

I am also hoping this will inspire my kiddos to pare down their *stuftie*  hoard collection. ;-)