Showing posts with label paper. Show all posts

Thursday, September 13, 2012

Prophetic Art Journal Page

A few months ago I finally started a project I've been wanting to do for awhile. It's an art journal. It combines basic journaling with more artistic flair...from what I can tell.

I've also been using a technique often referred to as an 'altered book' because I took an actual hard back book and used the pages for my own purposes. My book is a combination scrapbook, journal, and inspirational quotes and verses. So basically everything and anything, whatever I feel like at the time.

My children can draw but that is one artistic endeavor I seem to have no skill in, so I never attempt it. However, I can do simple shapes. The other day I had a vision, a divine inspiration in the form of  a picture in my head. I decided to attempt the picture into my book. I like how it came out...but now I want to add a couple verses to the page...

(forgive me, I do not have a 'real' camera that works so I am limited to my camera phone! :-( 
If I make the images any bigger they are horribly blurry)
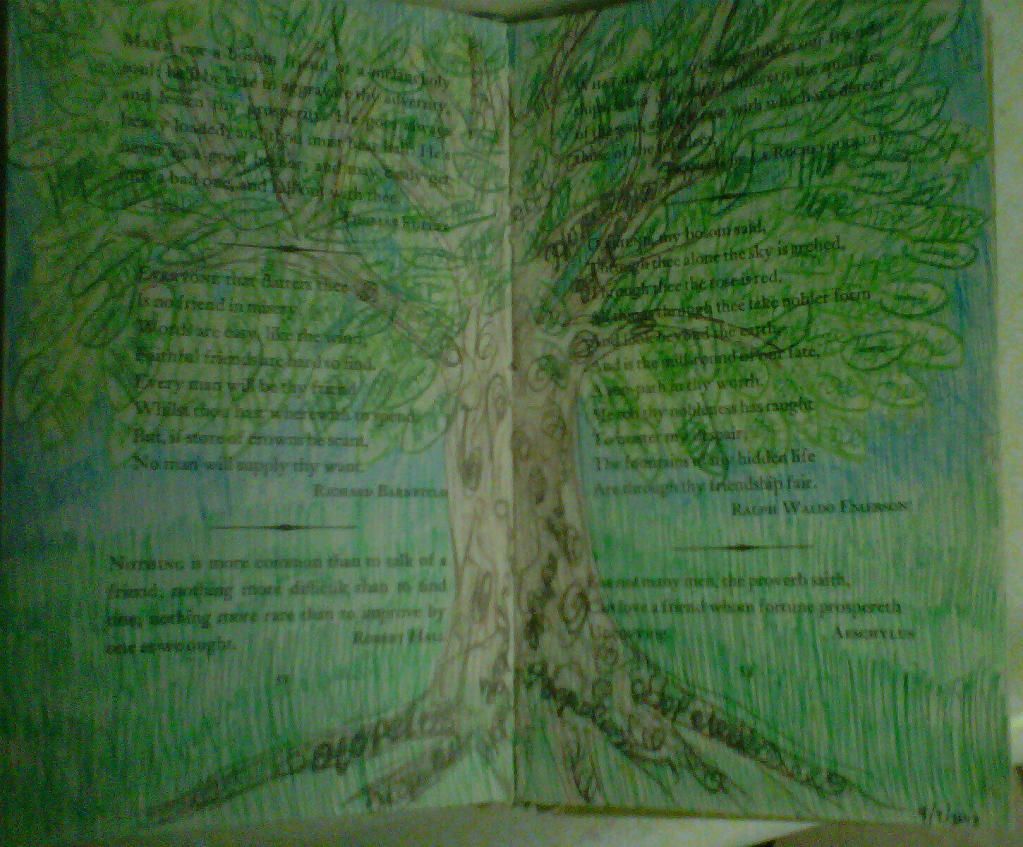

It's a sketch of a tree.  
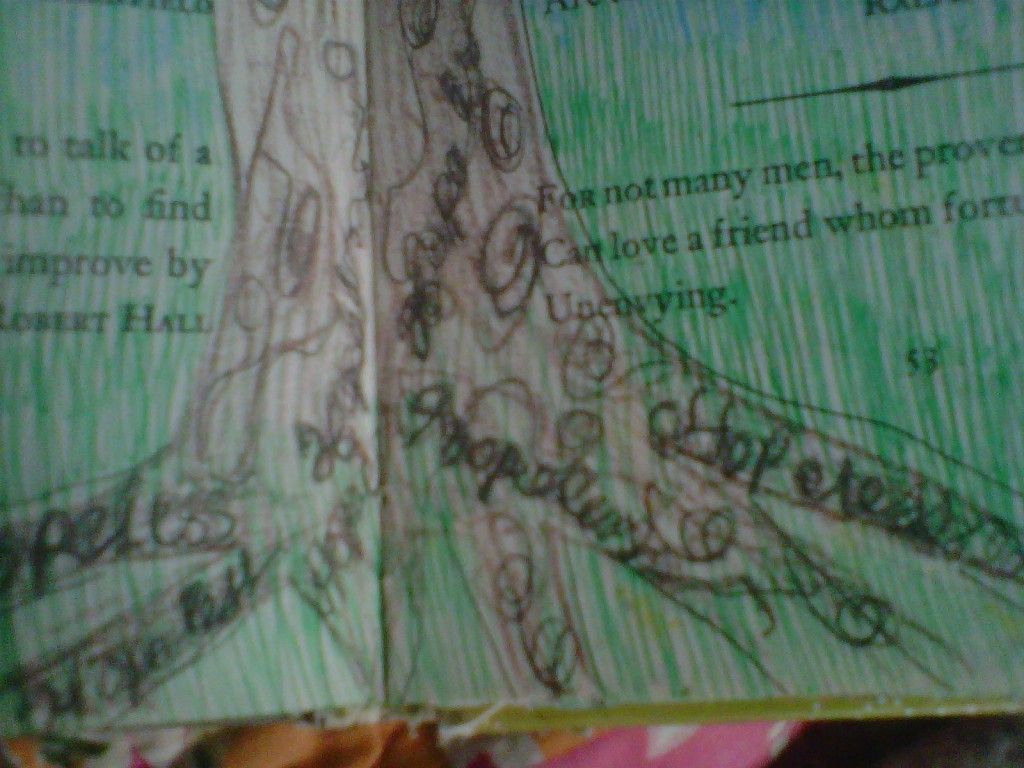

The roots of the tree have the words HOPELESS in them. 
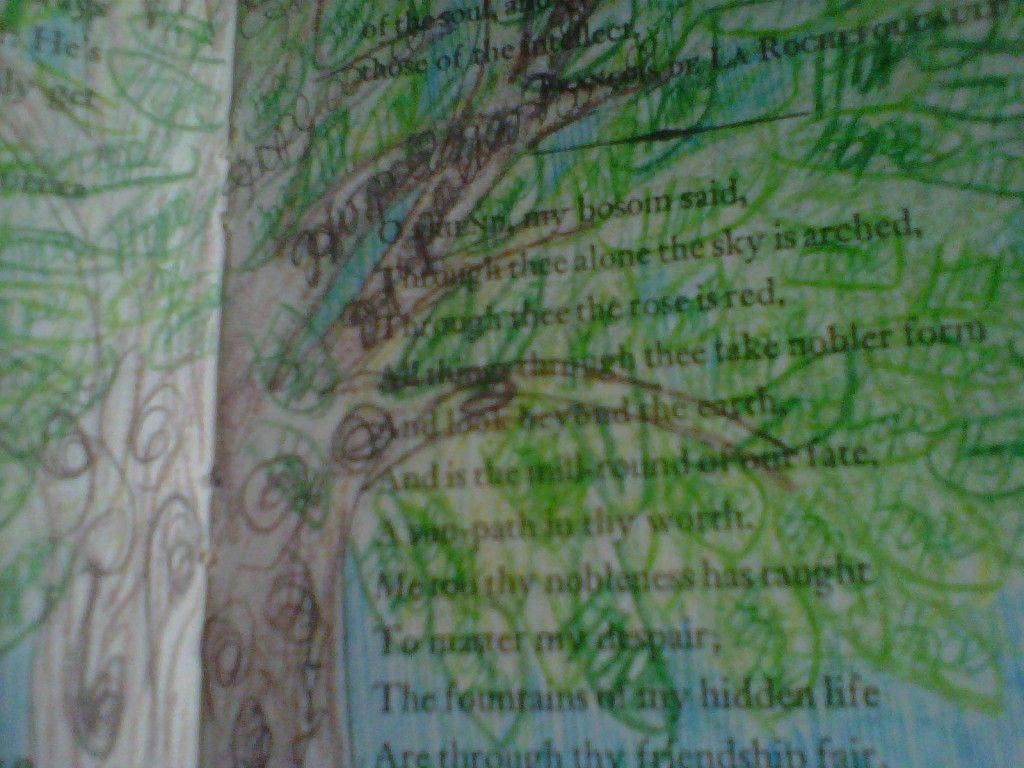

Whether you can see it or not, ALL the leaves have the word HOPE written in them.

I have since learned there are two verses that refer to 'healing leaves'.

Rev 22:1 Then the angel showed me the river of the water of life, as clear as crystal, flowing from the throne of God and of the Lamb 2 down the middle of the great street of the city. On each side of the river stood the tree of life, bearing twelve crops of fruit, yielding its fruit every month. And the leaves of the tree are for the healing of the nations.

Eze 47:12 Fruit trees of all kinds will grow on both banks of the river. Their leaves will not wither, nor will their fruit fail. Every month they will bear, because the water from the sanctuary flows to them. Their fruit will serve for food and their leaves for healing."

I did not even realize these verses existed. One night after our family prayer and worship time I asked one of my sons, "What is God telling you right now?"
"Let the leaves awaken to speak."
"What?" Did I hear that right?
"I don't know, that's just what He said."
"I know but what was it you said?"
He repeated himself and I knew immediately it related to the picture-he knew nothing about it. I showed him and felt pretty excited about it. The next day I unexpectantly met with a friend to pray. She happened to reference the Revelation verse quoted above with out me even mentioning my picture. I was excited to show her and tell her what my son had said.

God works like that, putting all the puzzle pieces together. He speaks to us in images, words, thoughts, ideas...through any and everything. This was extra fun for me because I rarely draw...my children are always drawing prophetic pictures at church. So this was a new experience for me.

I really enjoy the art journaling because it allows me to create a page and fulfill my urge to create, rather quickly and easily. I mostly use layered papers and stickers to create a page I can write on. I also have verses.

I will add more posts with pix of other pages, later.

Monday, March 26, 2012

Hey! I made a little book.


I've been fascinated by the idea of art journaling and altered books for years but have always been intimidated by it. I can't paint or draw and many of the lovely page spreads I've seen include both. Add to that, I can never figure out or decide what type of book to actually use.


I knew what I would really like to do is create my own book anyway. I finally found a great tutorial and made one, chunky, little book. I am so excited to make more. I also started an art journal but it's not finished yet so no pix for that.


It wasn't very hard at all. Supplies used were: index cards, card stock, scrap card board, scrap of ribbon and a glue gun. Voila'!

The cover was created using a very thick card stock, it was a little hard to crease and fold properly. next time I'll use regular card stock that isn't so thick. I also want to make a bigger one.

Check out this great tutorial to make your own hand made book!

Linking to:

DebbieDoos Newbie Party

Sunday's Best Linky Party!

Sunday, March 18, 2012

St. Patrick's day goodies


St. Patrick's Day gets barely a nod in our home but I did manage a few treats and goodies. I have been seeing folded paper medallions online and decided to make one for our front door. I gave it my own 'twist' by only creating a half medallion. I layered 3 different papers on top of each other, topped with a *clearance* sparkly shamrock.

It was quick and simple...once I found my glue gun. Never found the glue sticks so I hopped back into the car for the 2 minute drive down the street to Joann's to purchase a bag of glue sticks. I had my %40 off coupon handy so they only cost a few dollars.

Later, I melted vanilla and chocolate 'meltys' in my sister-in-love's microwave to dip pretzel sticks in for a yummy and simple treat. I used neon green food coloring in the vanilla and green sprinkles for a festive look. Nothing is yummier than a sweet and salty treat like a chocolate dipped pretzel! Right?

Dipped pretzels make a great treat gift for any occasion. All you hvae to do is coordinate your sprinkles for the occasion & voila'!

Tuesday, August 23, 2011

Another Birthday Banner

Any excuse to sew? Instead of using glue to attach pieces of this super easy banner, I sewed them.

It was the Mr.'s birthday and besides the fact that he was always present (I like to surprise), I hardly had a moment to spare. So while he was out playing tennis for the morning, I went to work.

I free hand cut larger pennant triangles from fall themed paper I had, then smaller ones.  I sewed straight across the tops to attach the smaller pieces on top and to attach each pennant to the next. I left my free motion quilting foot on my machine all summer, this was another excuse to put it to practice. (And boy do I need practice using it!!!!) After all the triangles were attached, I created a string of swirls on each individual pennant. I had plenty of letters but none that went with the color scheme of the papers. I noticed some letters the day before while I was @ Target & knew they would match. I quickly went to Target, used a $5 gift card I had and paid a dollar out of pocket for a pack of alphabet stickers in the exact hues I needed.  Voila'!


Easy peasy and festive to boot!

Friday, January 21, 2011

Valentine Ideas!

I've made it no secret that I absolutely love, Love, LOVE Valentine's! It's my most favorite *holiday*.

Here are some FABULOUS & crafty ideas--frugal, of course.
Enjoy.


Friday, January 07, 2011

Take note

For the second installment of a tea I again hosted, I could not find the mini composition books.  I did find these little top-flip notepads.  They had a sturdy cardboard back but no front cover.  I thought I might make a sewn felt flip cover but decided to use paper instead. It was great.


I simply cut paper to fit the front 1.5x the height of the book.  I folded it over the top and glued it to the back. To add a little more flair, I used rub on transfers I had, of inspirational words and definitions.  I think I've mentioned before how awful I am at cutting so that was the hardest part. I'm sure a paper cutter/trimmer could work to make this part of the process easier but I always forget I have one.

Thursday, December 30, 2010

a little note...

I wanted notebooks for an event I was hosting and knew I wanted the covers to be decorated.  I wasn't sure if I wanted to have the guests decorate their book themselves, decorate with paper or fabric... I decided on making fabric book covers that way the recipient could remove it, if they were inclined.  I was pleased with the finished product even though I hit a few glitches here and there.


 I did the first two with regular cotton fabric.  Then I realized the felt was faster to work up for this project. (no seems needed) Since I was in a hurry, I ended up covering most with the felt. It was too plain with felt alone, so I added a fabric "binding".  Doesn't it add so much more?

You simply cut a piece of felt larger than the book itself. (about 3 times the size the width of the front)  You can fold it over the book to give you an idea and then mark it off.  I pinned the 'sleeve' part and used chalk to mark the top and bottom margins.  I sewed all the way across the top and bottom to seal the sleeves.

I then cut a rectangle out of coordinating fabric for the "binding", that matched in height from top to bottom of the felt. I zigzag stitched the sides of each piece onto the felt. Voila'!

Easy peasy, right?


I love this picture because of all the inspirational energy it conveys.  The madness, the color, the perceived chaos that produces the lovely finished product.

Wednesday, December 15, 2010

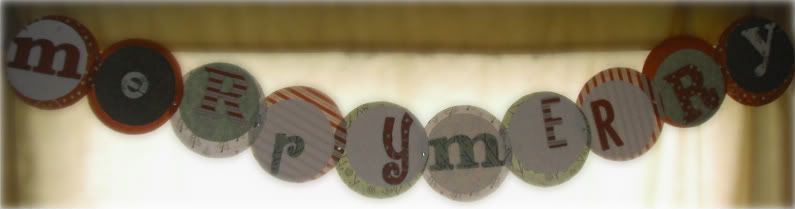
Merry, merry & Happy Christmas

I found a full package of plain chipboard letters on clearance! So much potential.  

For this banner, I traced the letters on festive paper (%50 off the full pad of seasonal papers).  Cut them out & glued them on.  Pretty simple & self explanatory, right?

Then I grabbed a mug from the kitchen that had a large enough base to include the various letters & traced circles on plain card stock and two of the coordinating papers.  I grabbed a larger jar, traced circles on the other festive papers.

I then glued the letters onto the card stock and blued those circles onto the larger circles.  I glued them a bit off center on each one and did the same with the letters.

I punched small holes at each end of the finished circle and attached them to each other with brads.  I attached a jute loop at each end for hanging.  Using the brads allows each circle to be turned onto the next, to take up the space of just one circle when storing.  Again, an easy craft that requires little to know skill.  You could even have the kiddos do it or make their own!


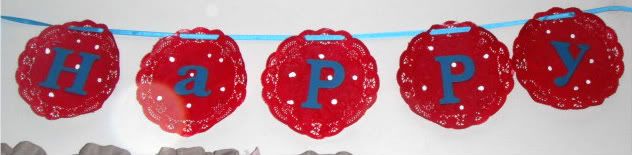
Now for a little Retro action!


I used the chipboard letters for this banner too...but I painted them.  I also used doilies I had, painted red.  It was too plain to leave just red with blue letters...they needed some white.  Polka dots were the perfect solution. I had the perfect blue ribbon.
Next time...I won't paint the doilies though. LOL A bit too much work....it was easy but felt like 'busy work'. Maybe spray paint would have been easier or quicker?  I've seen lots online just plain white that looked very chic'.
My kids helped me paint these too!

Sunday, June 27, 2010

Another Birthday

Both my middles have birthdays in June.  Exactly one week from each other.  The older middle wanted a party themed after the latest Tim Burton version of Alice in Wonderland.  I did what I could and here are a few things I came up with.

Birthday Banner


Here are some of te cupcake toppers.


I went more with a Mad Hatter-wacky style and look.  I think it fit well enough.  The initials belong to both middles.  He was very happy with the final result.


He turned the big 1OH! :-)
Now I'm working on an Alice inspired lap quilt for him......

Saturday, April 10, 2010

Anything for my sweet prince!

Naturally wanting to make Baby K's first birthday extra special, I decided to go with a *real* theme.  I looked on ETSY for inspiration and found a party them using tiffany blue and lime green along with a frog prince. Perfect! With only 10 days to spare I went to work. I had a hard time finding papers in the colors I wanted but in the end I found packs of blue/green papers @ Target of all places for only $.99 cents! Can you believe that?

I created cupcake toppers and a birthday banner.  It doesn't sound like much but add to that all the regular party fare....and you get the idea.  We ordered a custom pinata that matched perfectly.  I also coordinated plates, cutlery and napkins.  I used a boxed cake mix this time but homemade frosting--I made the green frosting peppermint flavored and WOW was it delish!!!

I realized later, this was the same color theme I had for his baby shower.  How sentimentally sweet, right? The banner pix did not come out very well so I'll have to show them another time, but just know--it was adorable. ;-)  I'm going to use the cupcake topper cards to decorating thank you cards. I hate to just throw them away.