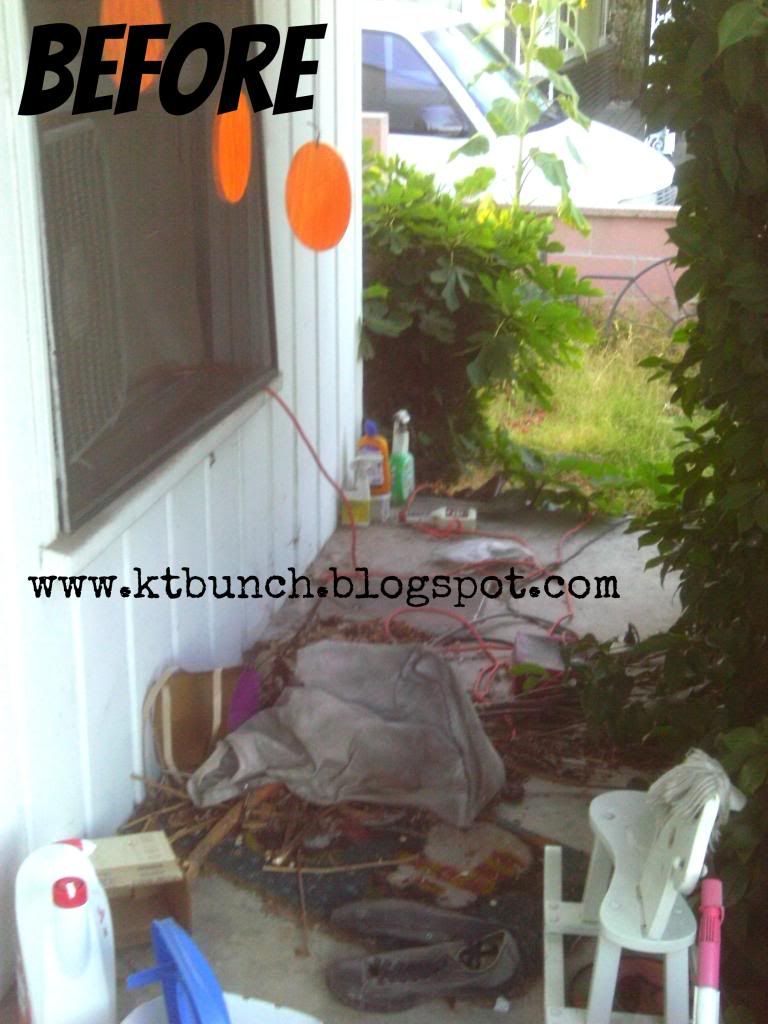
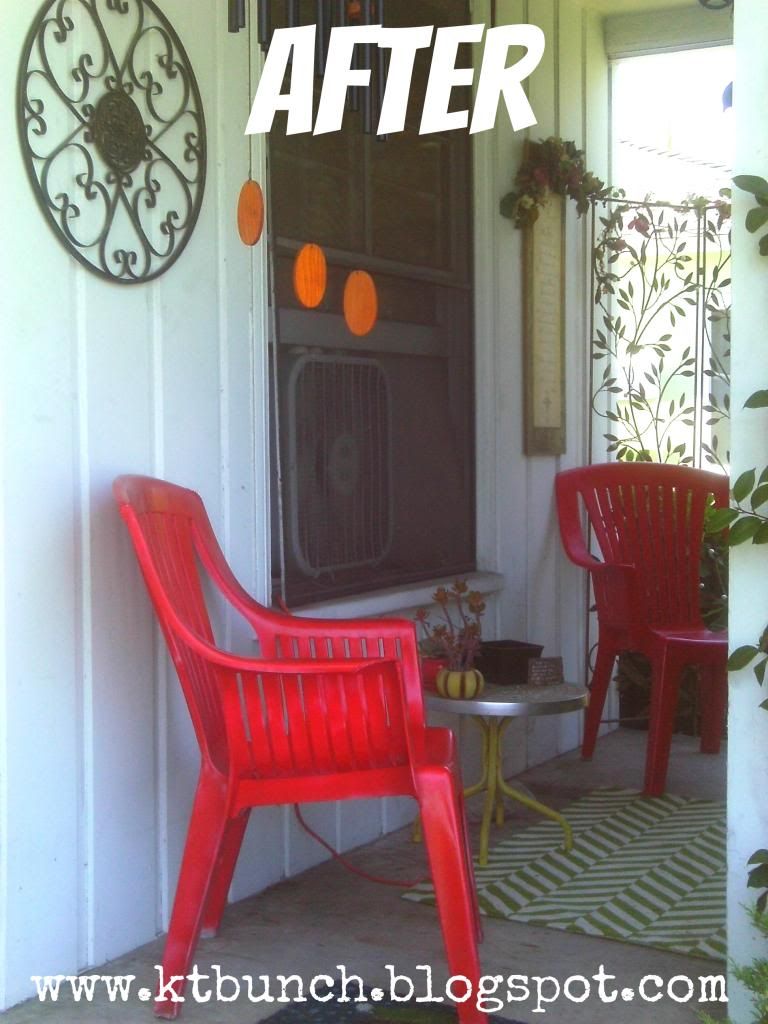
My sister-in-love was over the other day and the house was retaining the summer heat. We took two of my new-to-me-freshly-painted chairs, squeezed them onto the porch to enjoy the breeze. It hit me that I could create a cozy space using what I had on hand.
Showing posts with label room make-over. Show all posts
Tuesday, July 23, 2013
20 Minute Mini Porch Make-Over
My sister-in-love was over the other day and the house was retaining the summer heat. We took two of my new-to-me-freshly-painted chairs, squeezed them onto the porch to enjoy the breeze. It hit me that I could create a cozy space using what I had on hand.
Wednesday, October 12, 2011
Bedroom Side Table re-do
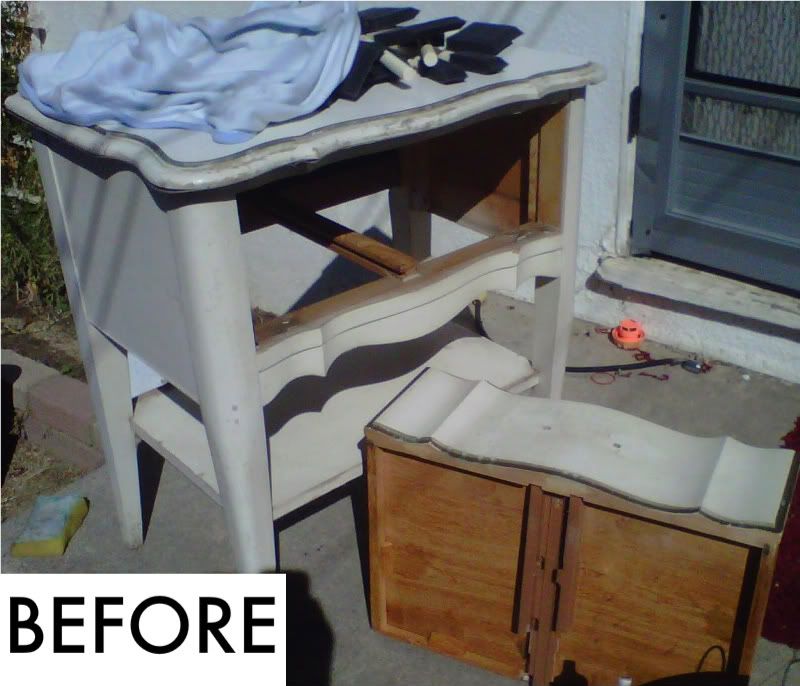
I must've forced the Mr. to curb crawl this side table months ago if not last year. It took residence on our porch, sadly calling out to me every time I went in or out of my front door. I planned to get to it as soon as I could.
Same old story, right? Well, this weekend I was in a creative frenzy. I finally dragged-ok had oldest carry-that heavy little table to the back yard and the Birdy girl & I got to work.
I used primer, since I wasn't going to do any sanding, I already had on hand and some grey-blue oops paint I had also scored months ago.
We painted Birdy's room white this summer and have slowly been decorating it a neutral white on white since the male toddler is also housed there. Birdy also has this idea that she wants her room *vintage*. Well, this side table certainly fits that description.
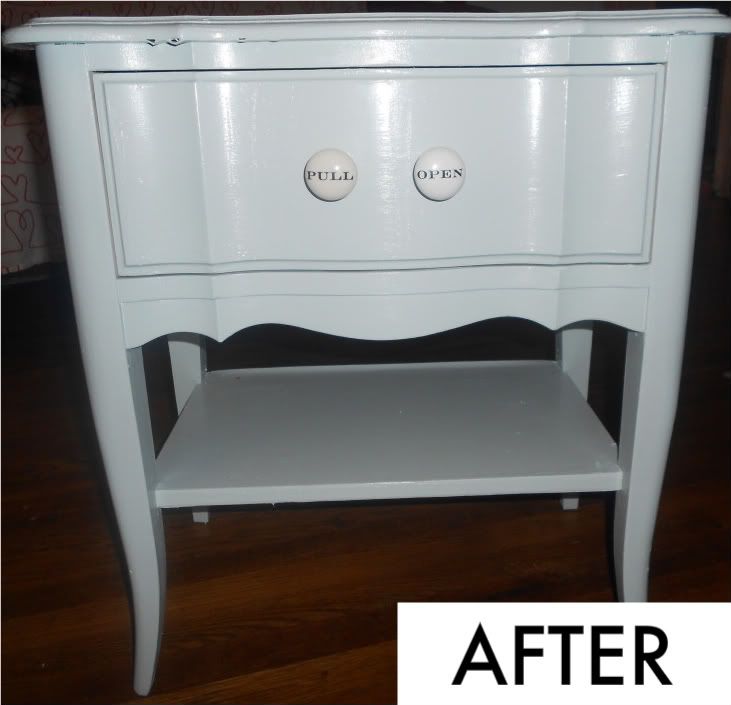
It's not a new piece, but it definitely has much more life in it now!
It was the perfect day to paint it too, warm and dry. Almost too warm. The coats dried quickly so we were able to complete the entire piece in one afternoon.
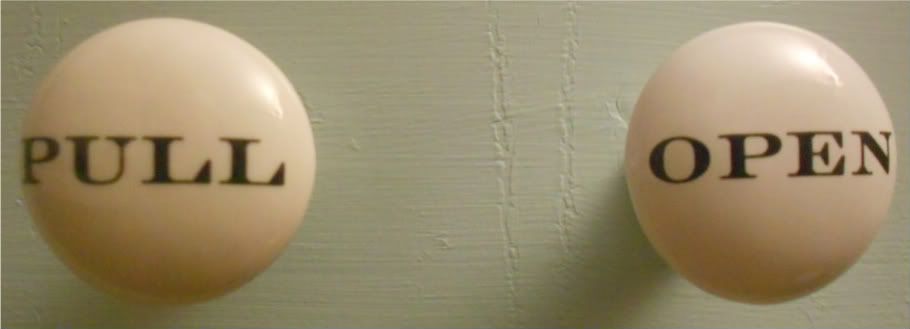
I found the drawer pulls at Michael's Arts & Crafts store for only $1.50 each. Initially, I purchased them thinking I could use them for my own desk that doesn't have any, but the screws were too big. They fit the drawer in this table perfectly!
Aren't they just adorable? I thought so too.
Same old story, right? Well, this weekend I was in a creative frenzy. I finally dragged-ok had oldest carry-that heavy little table to the back yard and the Birdy girl & I got to work.
I used primer, since I wasn't going to do any sanding, I already had on hand and some grey-blue oops paint I had also scored months ago.
We painted Birdy's room white this summer and have slowly been decorating it a neutral white on white since the male toddler is also housed there. Birdy also has this idea that she wants her room *vintage*. Well, this side table certainly fits that description.
It's not a new piece, but it definitely has much more life in it now!
It was the perfect day to paint it too, warm and dry. Almost too warm. The coats dried quickly so we were able to complete the entire piece in one afternoon.
I found the drawer pulls at Michael's Arts & Crafts store for only $1.50 each. Initially, I purchased them thinking I could use them for my own desk that doesn't have any, but the screws were too big. They fit the drawer in this table perfectly!
Aren't they just adorable? I thought so too.
Wednesday, August 24, 2011
New Lighting Fixture
After repainting my daughter's room this summer, marshmallow white, I decided to go with this idea of white on white for decorating. It's a slow process but we're getting there. I saw some pictures of creating focal points with paper lanterns and I knew it was exactly what I wanted in her room for the lighting.
I realize now I should have taken a pic of the lighting fixture that was there before. (I might have one in the painting pix, if so, I'll post them later) It was a vintage, pink, glass bowl-like dish that hung down below the light bulb. I found these paper lanterns for very inexpensive and finally went to work.
I also found large plastic crystal-chandelier like beads that I had planned on hanging intermingled with the lanterns but once we had the lanterns finangled, they seemed well enough with out them. Well, plus it was pretty tough on the arms and shoulders. There are beads hanging around the light bulb but they are too close to the lanterns to even see. bummer. (that's what those white strings are around the top of the light) They were a good idea in theory but gave us the most grief in application.
The whole thing was put together using upholstery thread. (just because that is the only white thread I had & I couldn't find my *invisible thread) The thread doesn't show on the lanterns but you can clearly see it attached to the beads. I attached the thread randomly to the wires of the lanterns and just kept pulling & tying until they hung in the shape and length we wanted. (oldest son was helping me) The beads are threaded onto a wire, wrapped around the metal fixture. I applied a strip of hot glue around the fixture to help it not slip. (learned the hard way after it slipped numerous times, entangling the beads) I tried tos tick to using what I had on hand.
I also realize the actual metal fixture the light bulb is affixed to, would look much better if *it* were also painted white. Don't know WHY I didn't think of that when we painted the room.
I'm still debating whether or not to add beads but it looks nice and simple the way it is. The shape came out lovely. I can imagine having this in various shades, colors & textures would also be smashing. It creates a nice glow when the light is on too.
Subscribe to:
Posts (Atom)